The basics
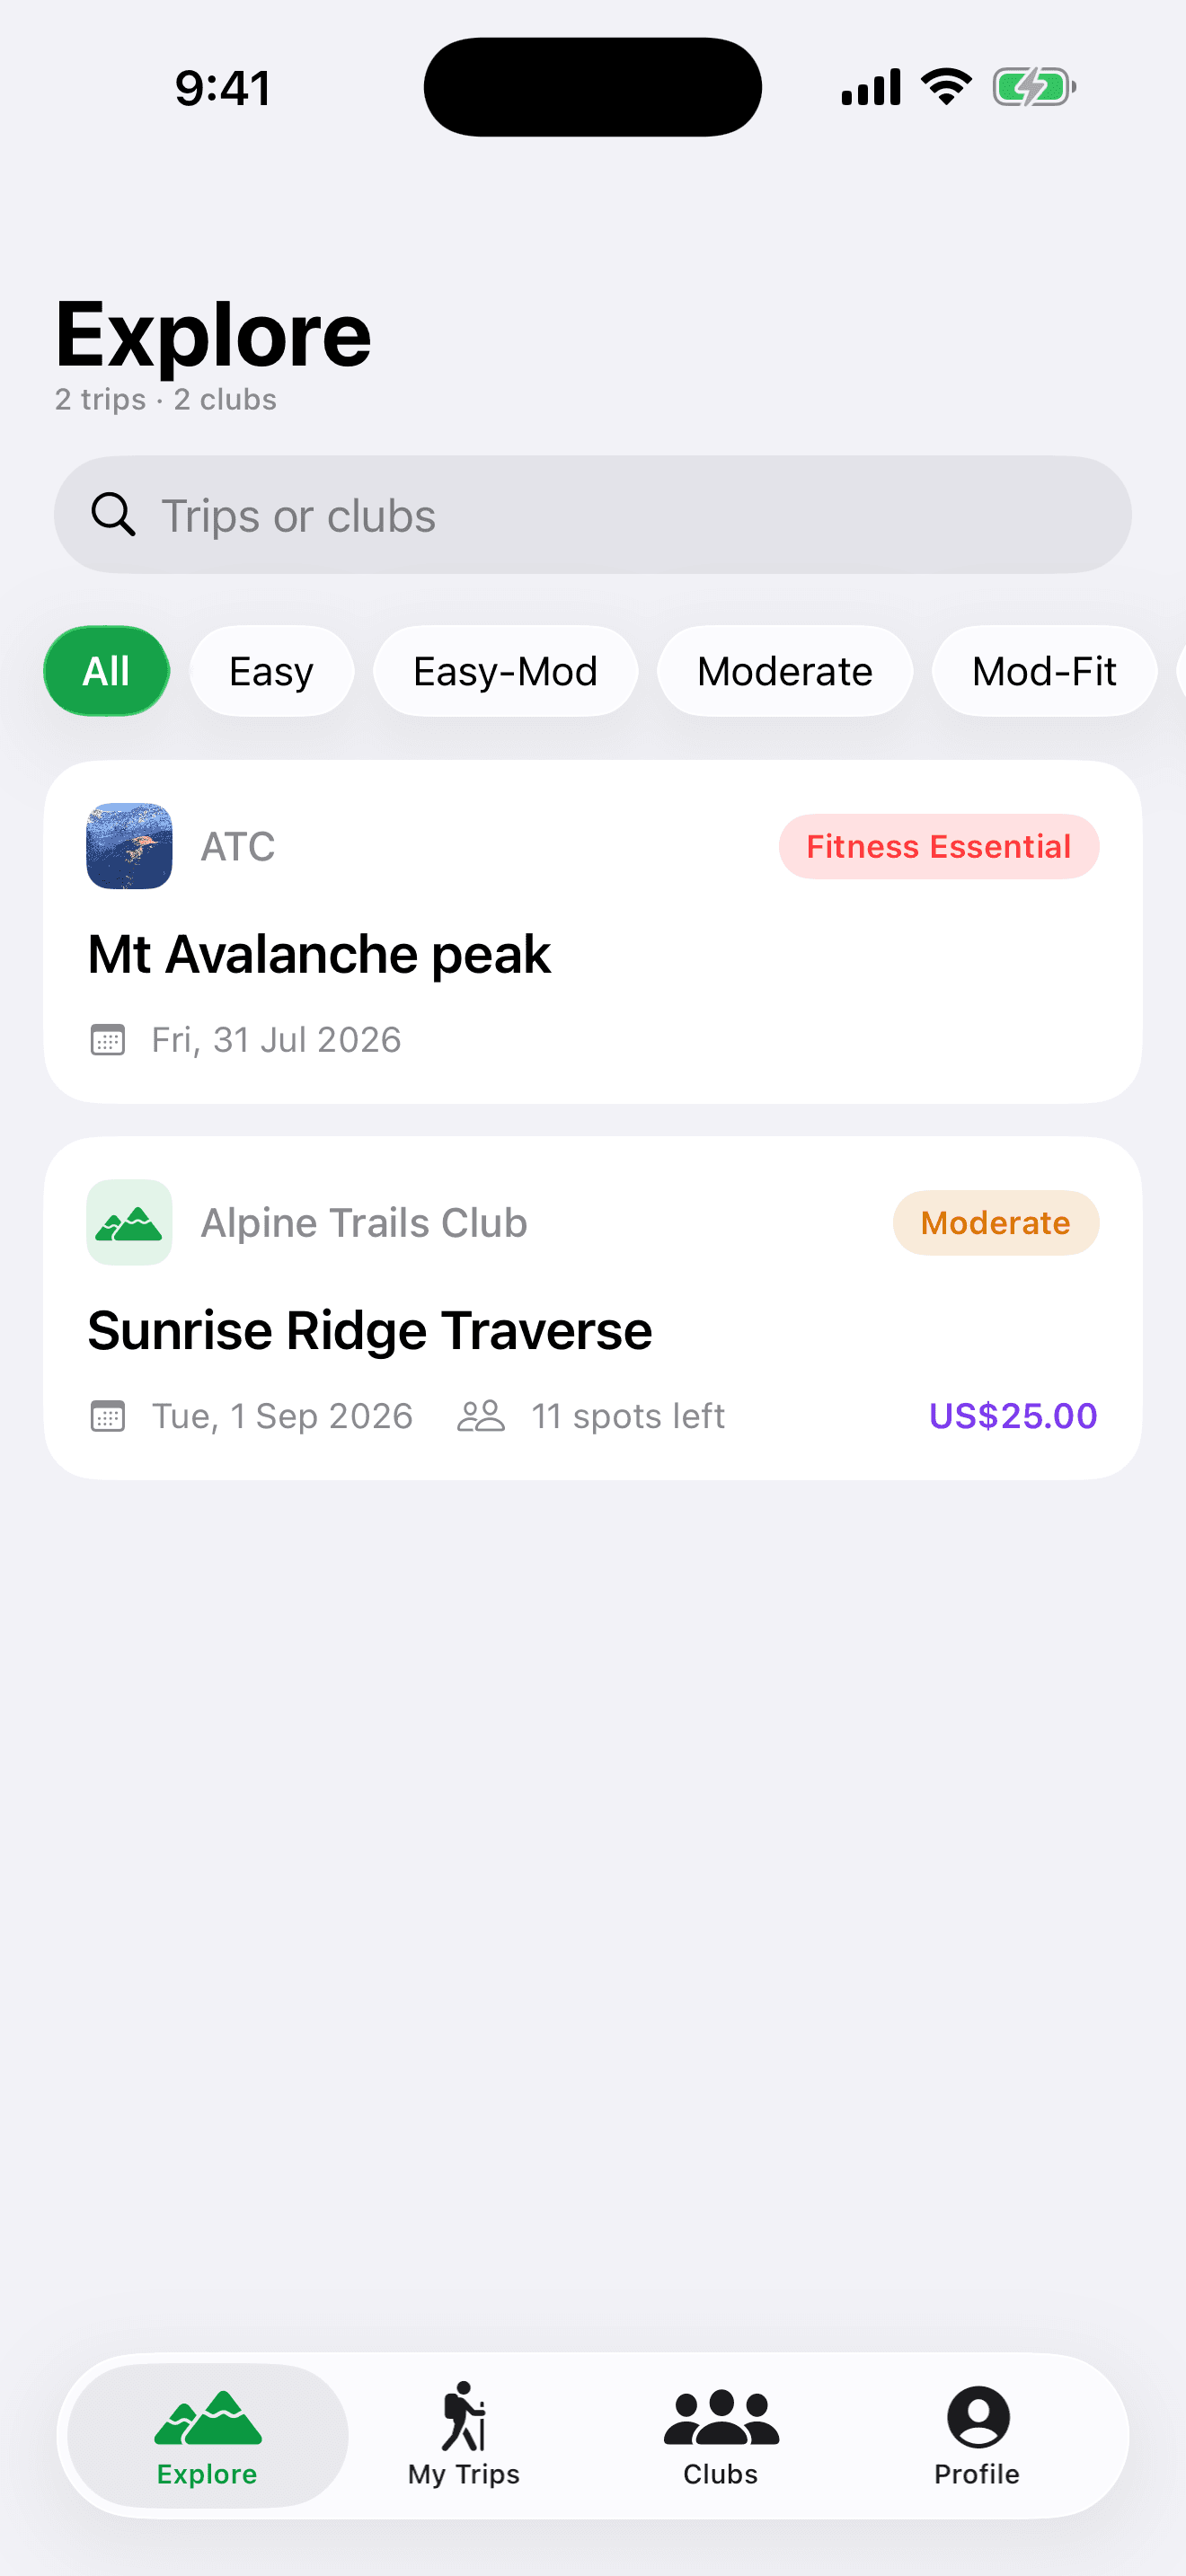
The app has four tabs along the bottom:
- Explore — browse open trips from every club. Search by trip or club name, and filter by difficulty grade using the chips.
- My Trips — the trips you've signed up for, with your approval status, payment state, and carpool.
- Clubs — your clubs and a directory of public clubs. This is also where leaders manage everything.
- Profile — your account, password, and app links.
Pull down on any list to refresh it.
Sign in & accounts
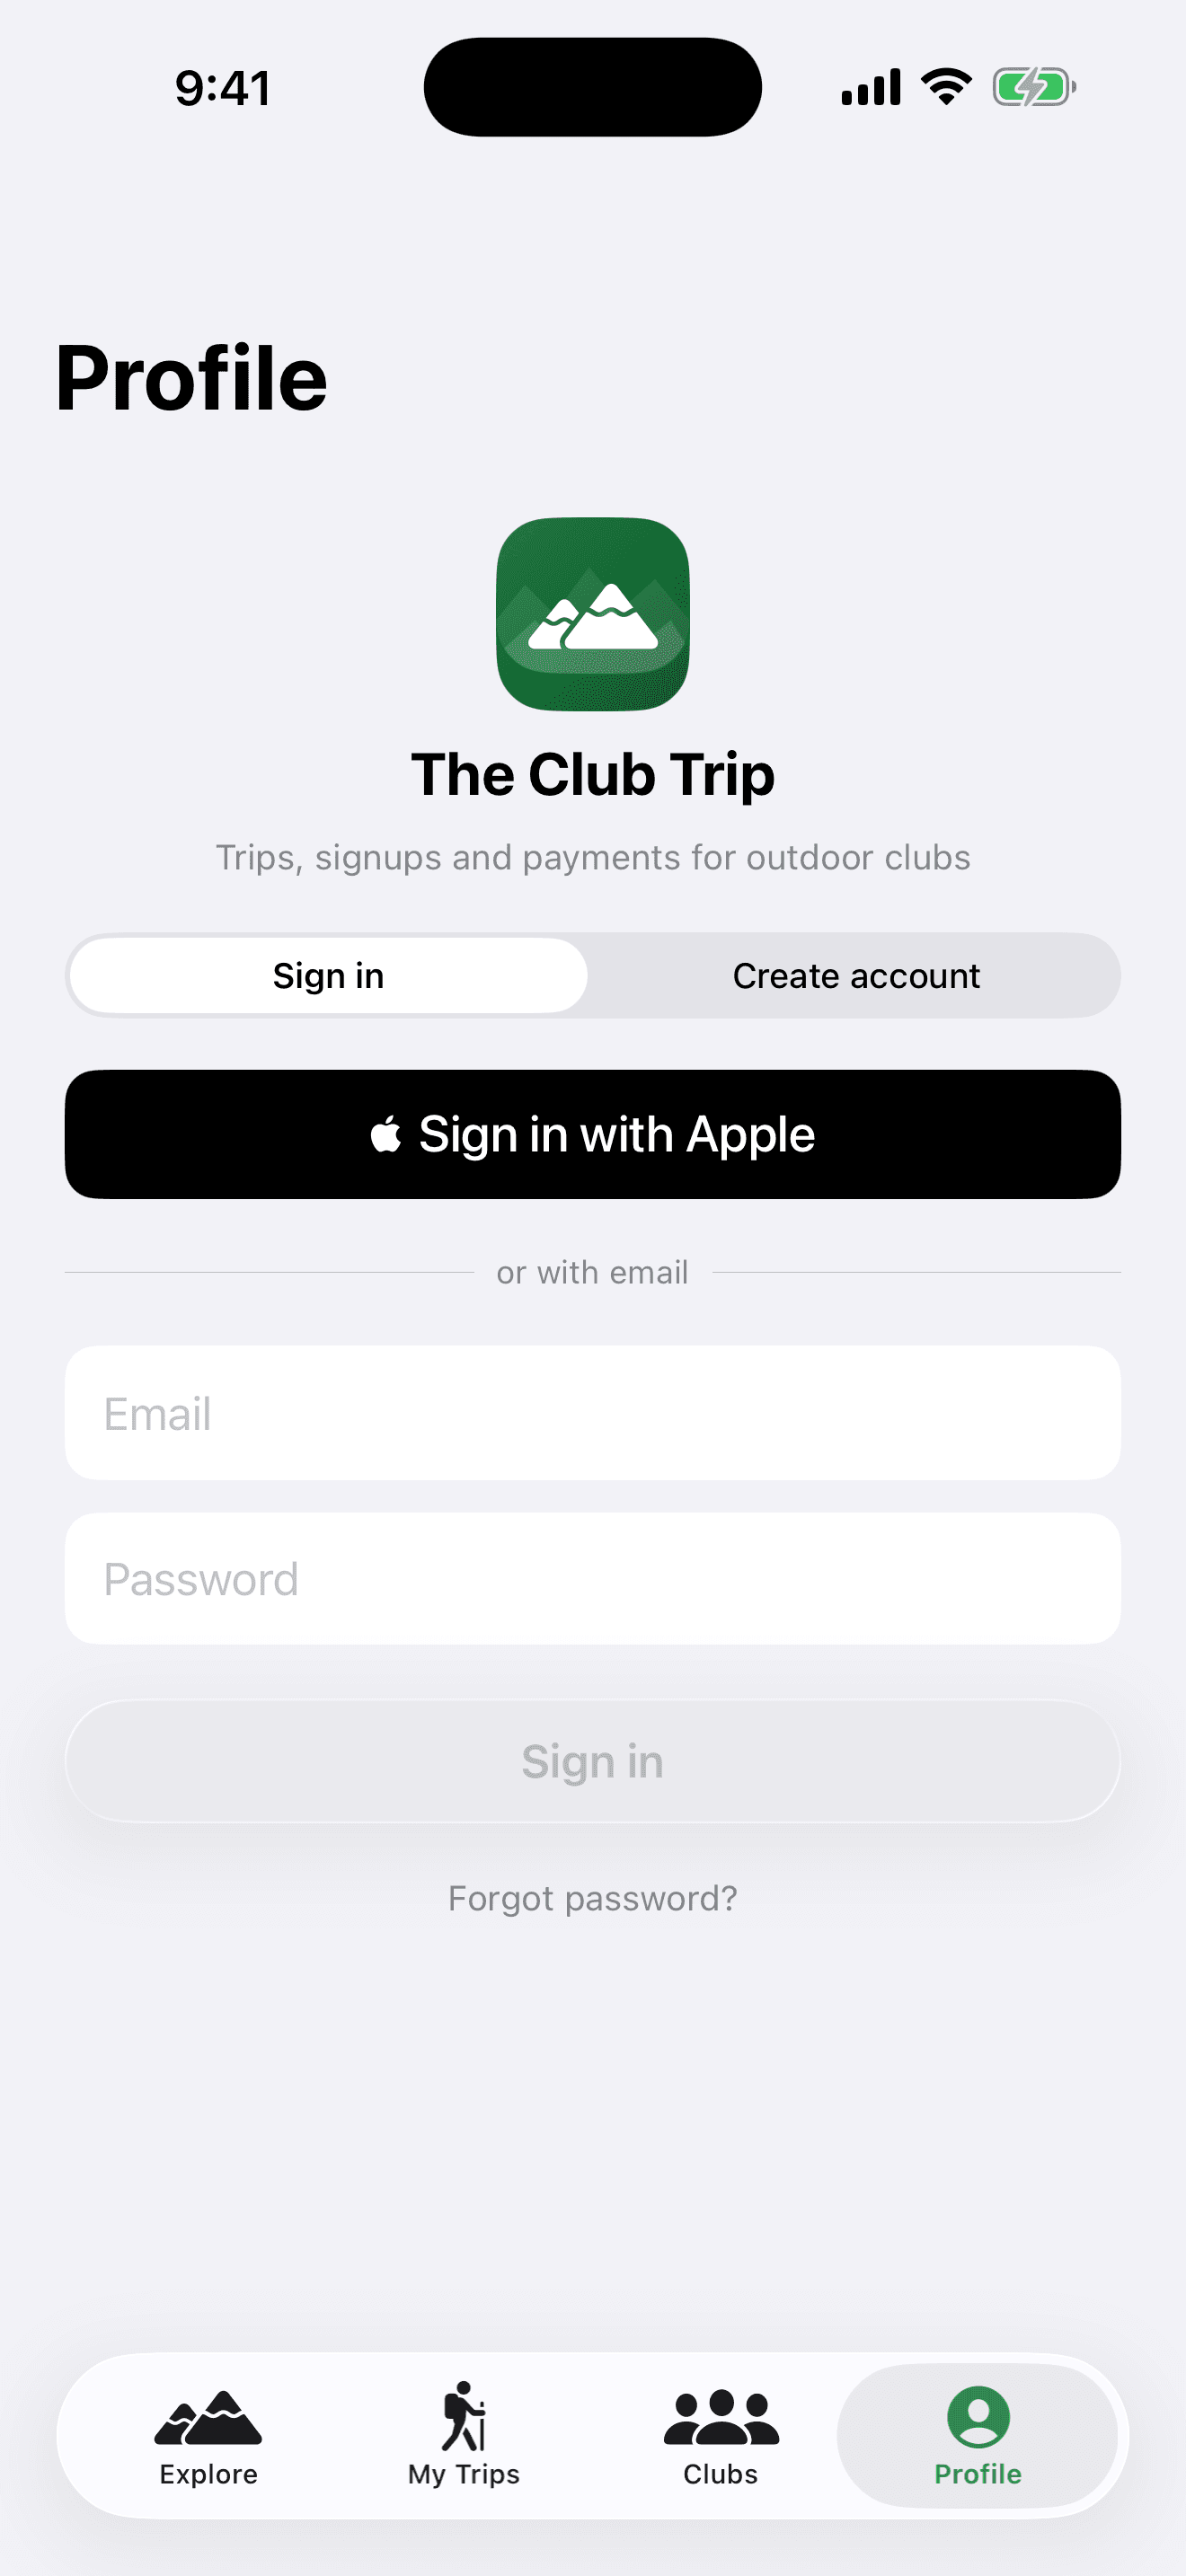
- Open the Profile tab.
- Choose Sign in with Apple, Continue with Google, or enter your email and password.
- New here? Flip the toggle to Create account, enter your name, email, and a password (8+ characters).
- Your account is the same one you use on theclubtrip.com — trips and clubs stay in sync.
- Forgot your password? Tap Forgot password? and we'll email you a reset link.
- You don't need an account to browse trips or sign up as a guest — but an account lets you track everything in My Trips.
- To change your password or sign out, go to Profile → Account.
Create a club
- Sign in, then open the Clubs tab and tap + in the top corner.
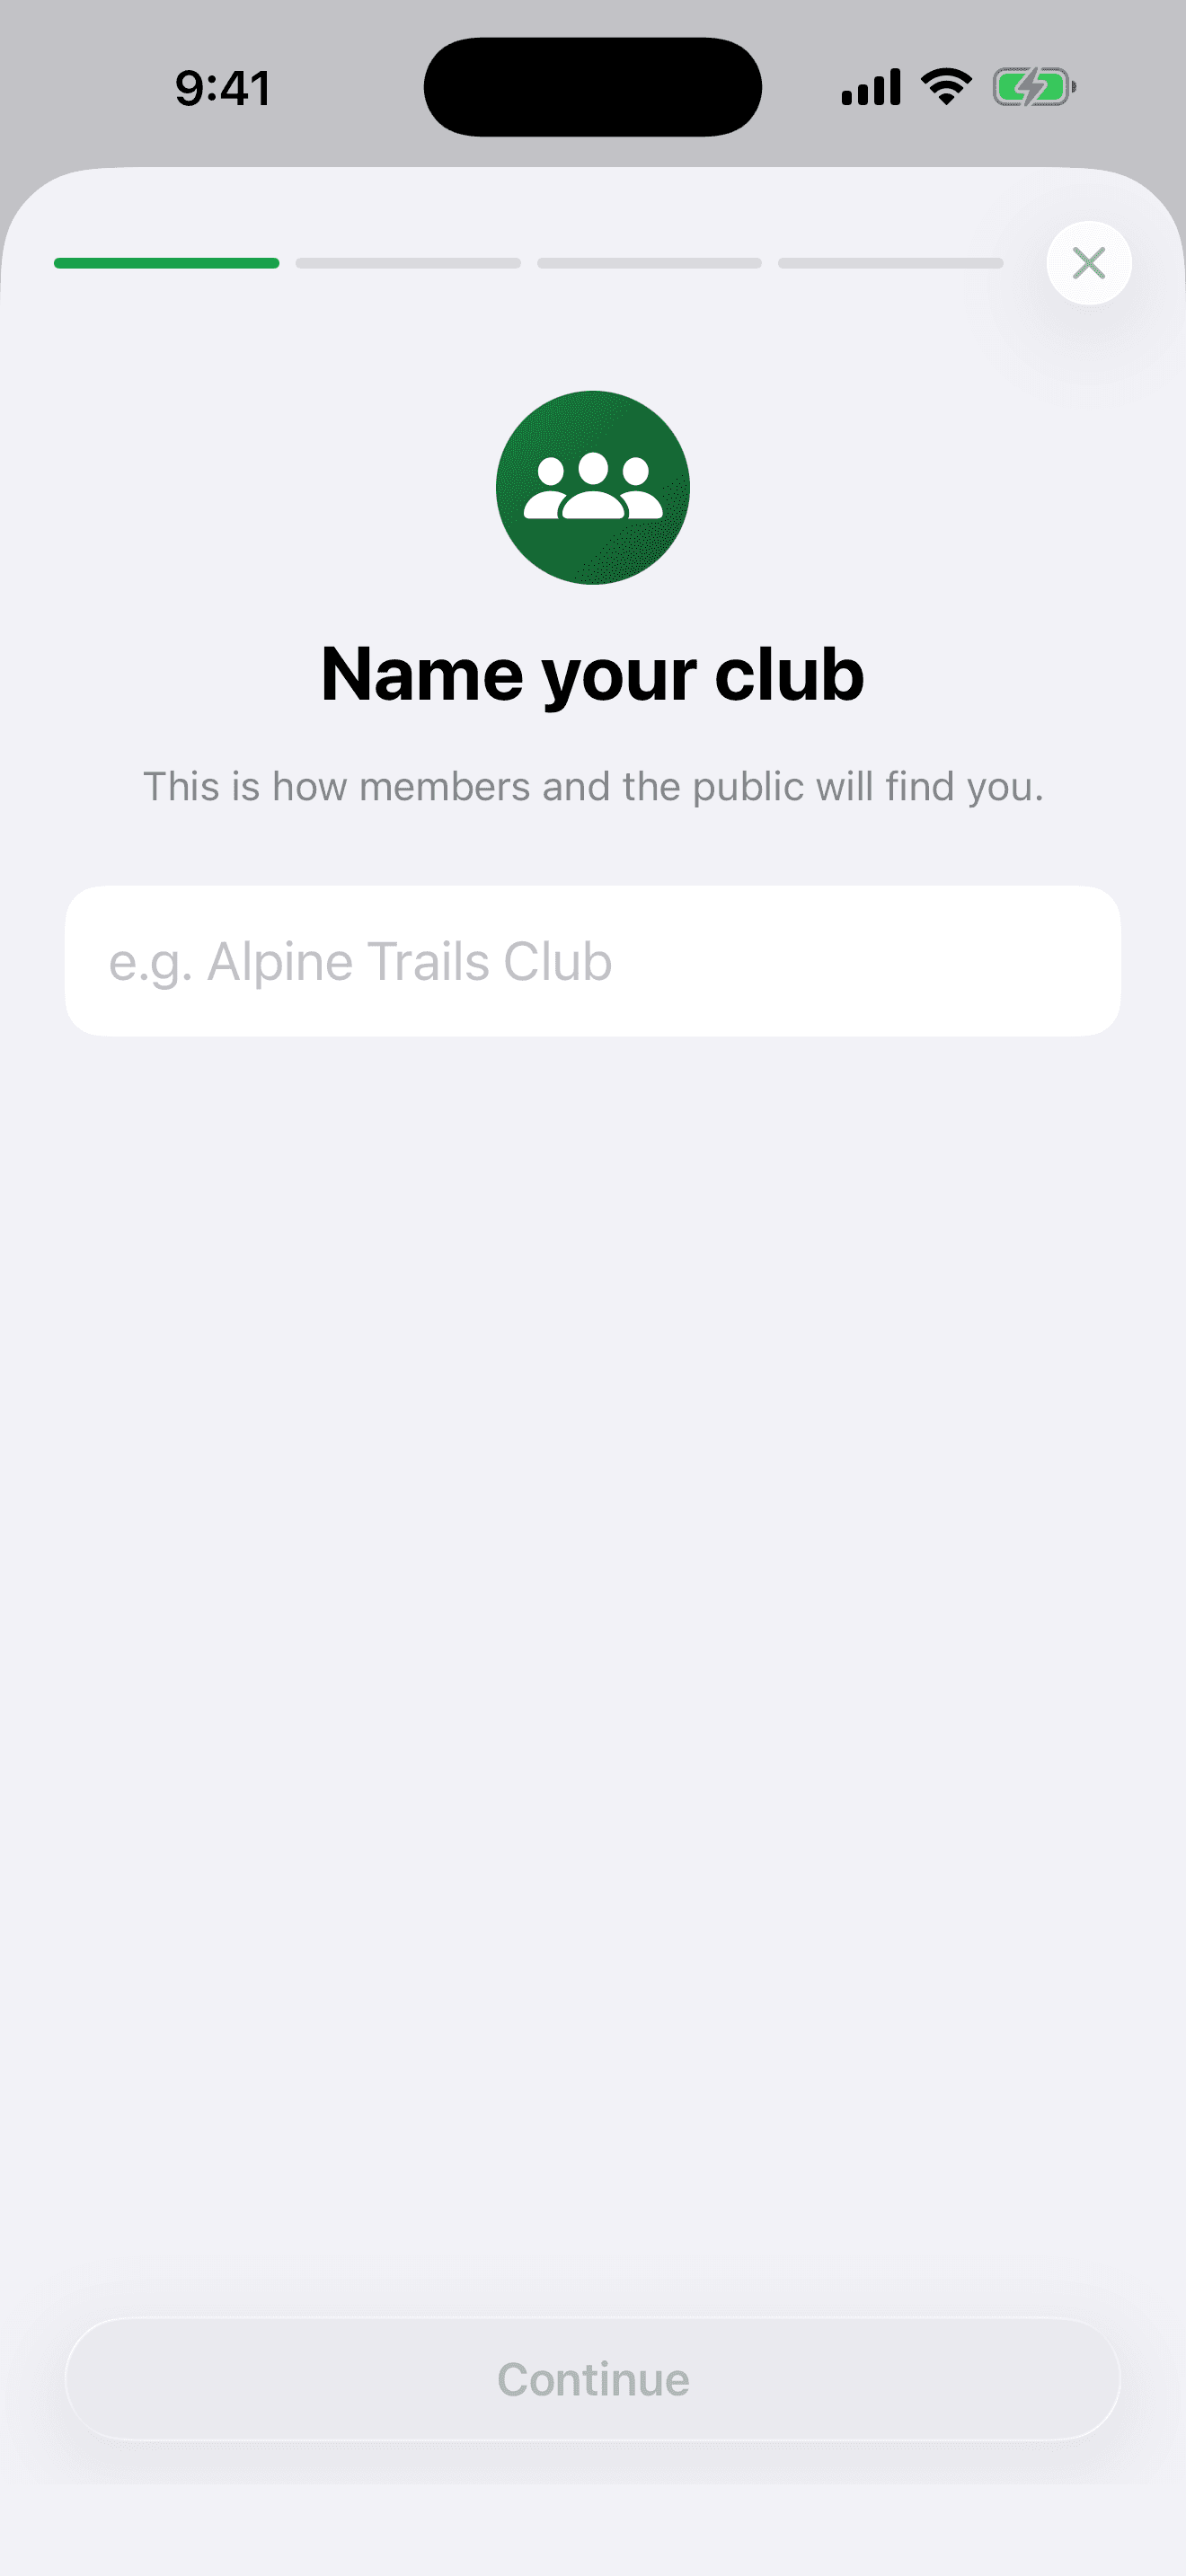
- Name your club — this is how members and the public find you.
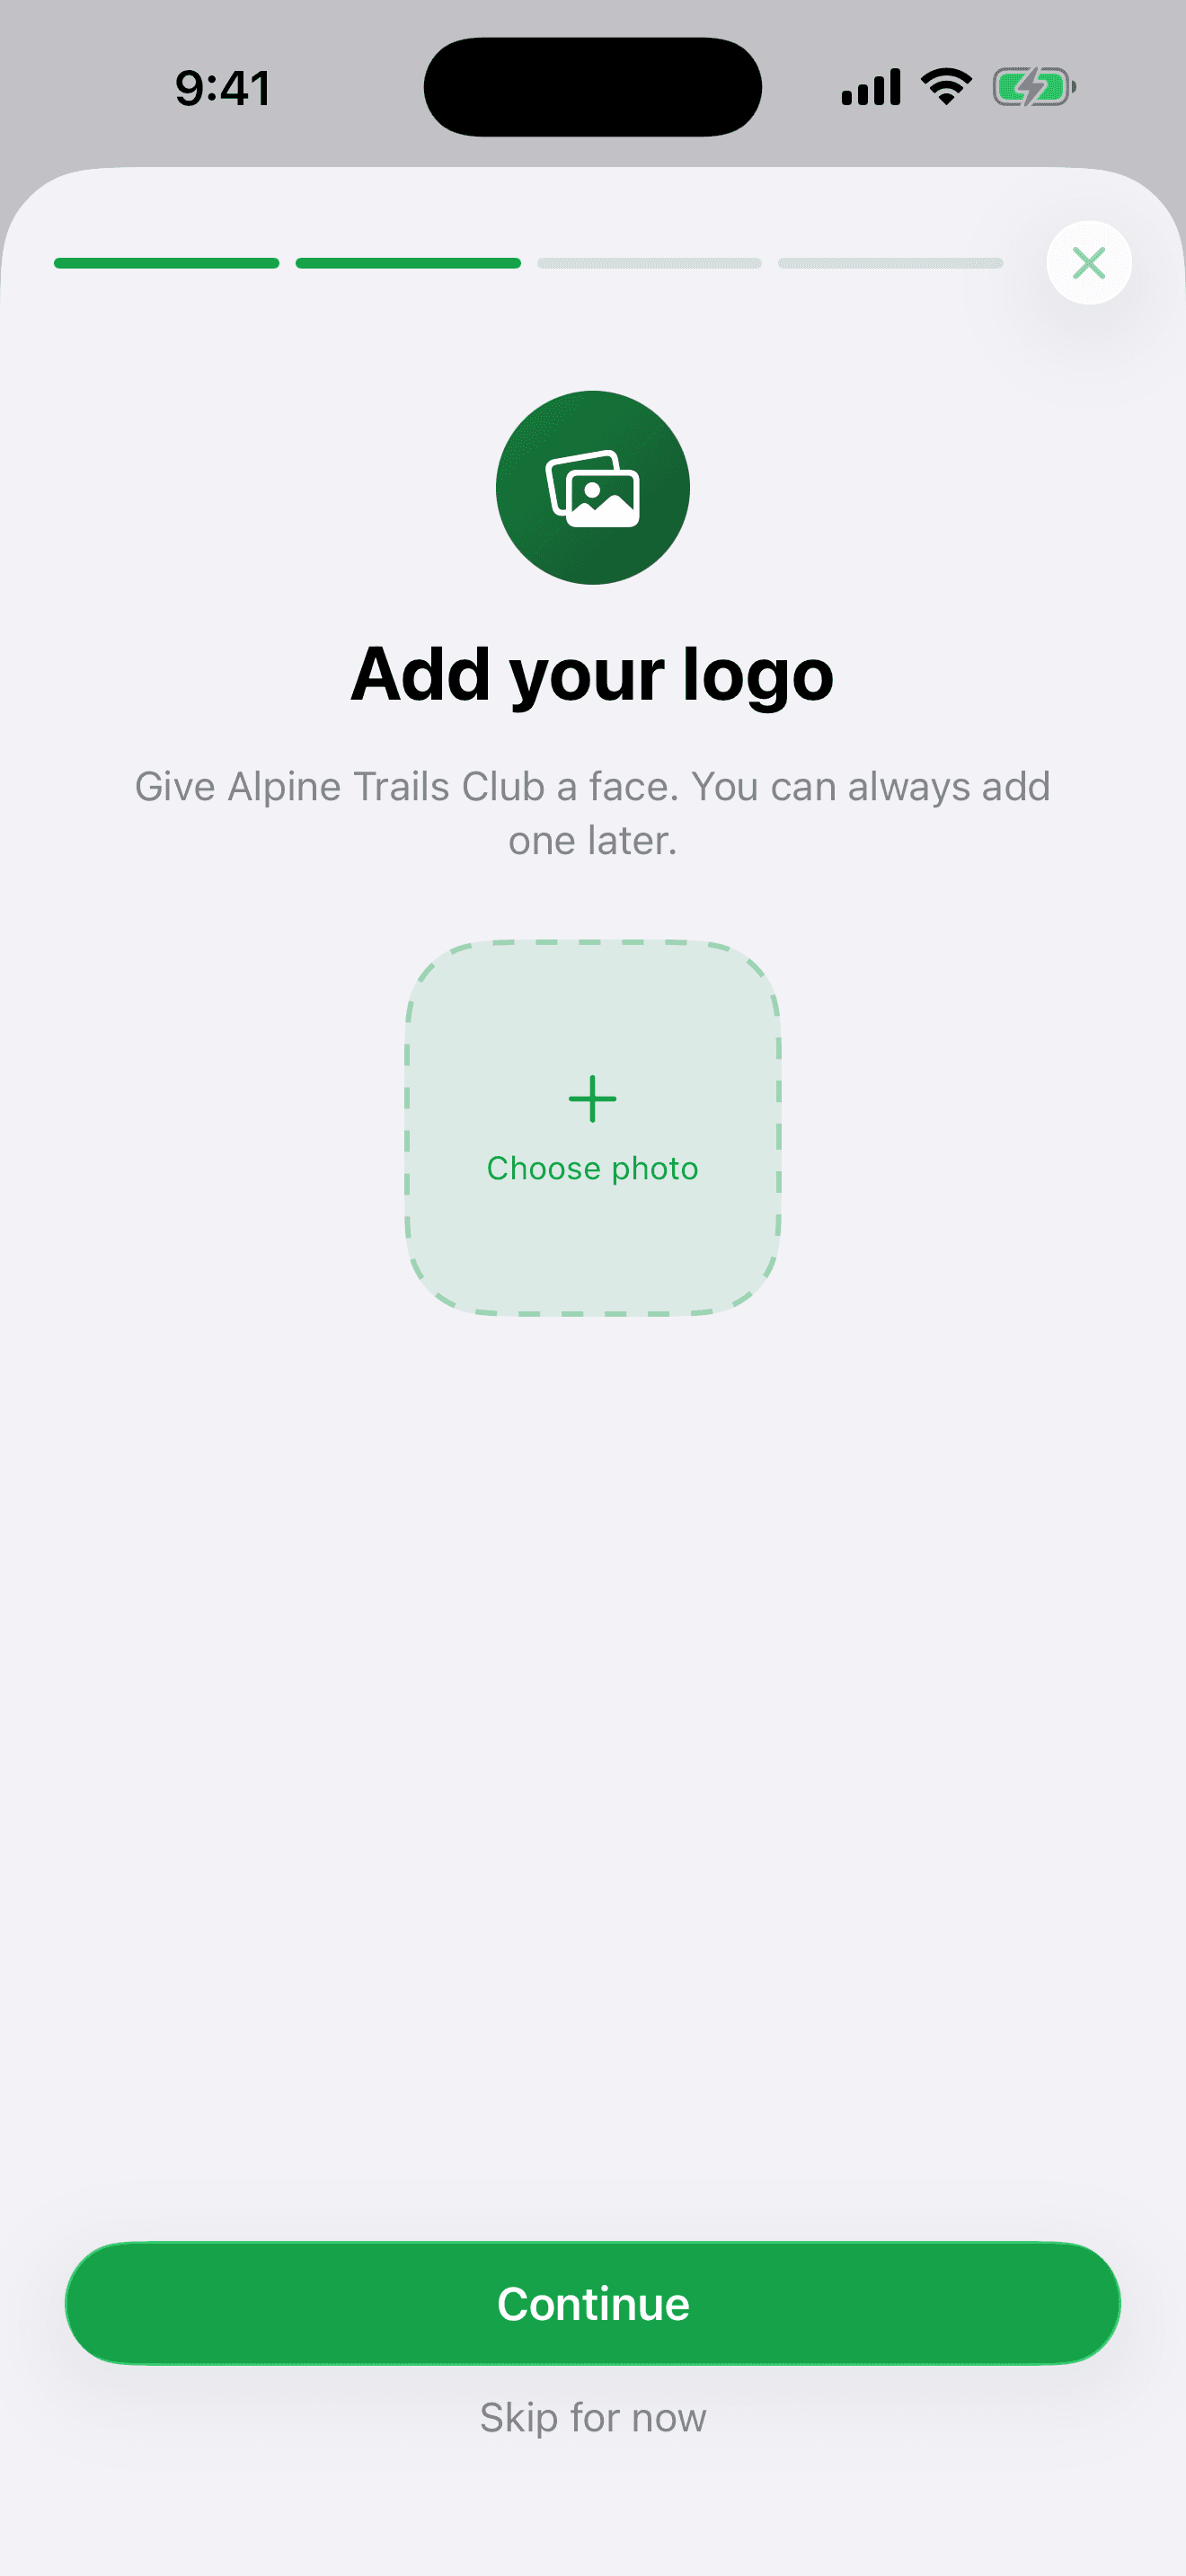
- Add a logo from your photo library (you can skip and add it later in settings).
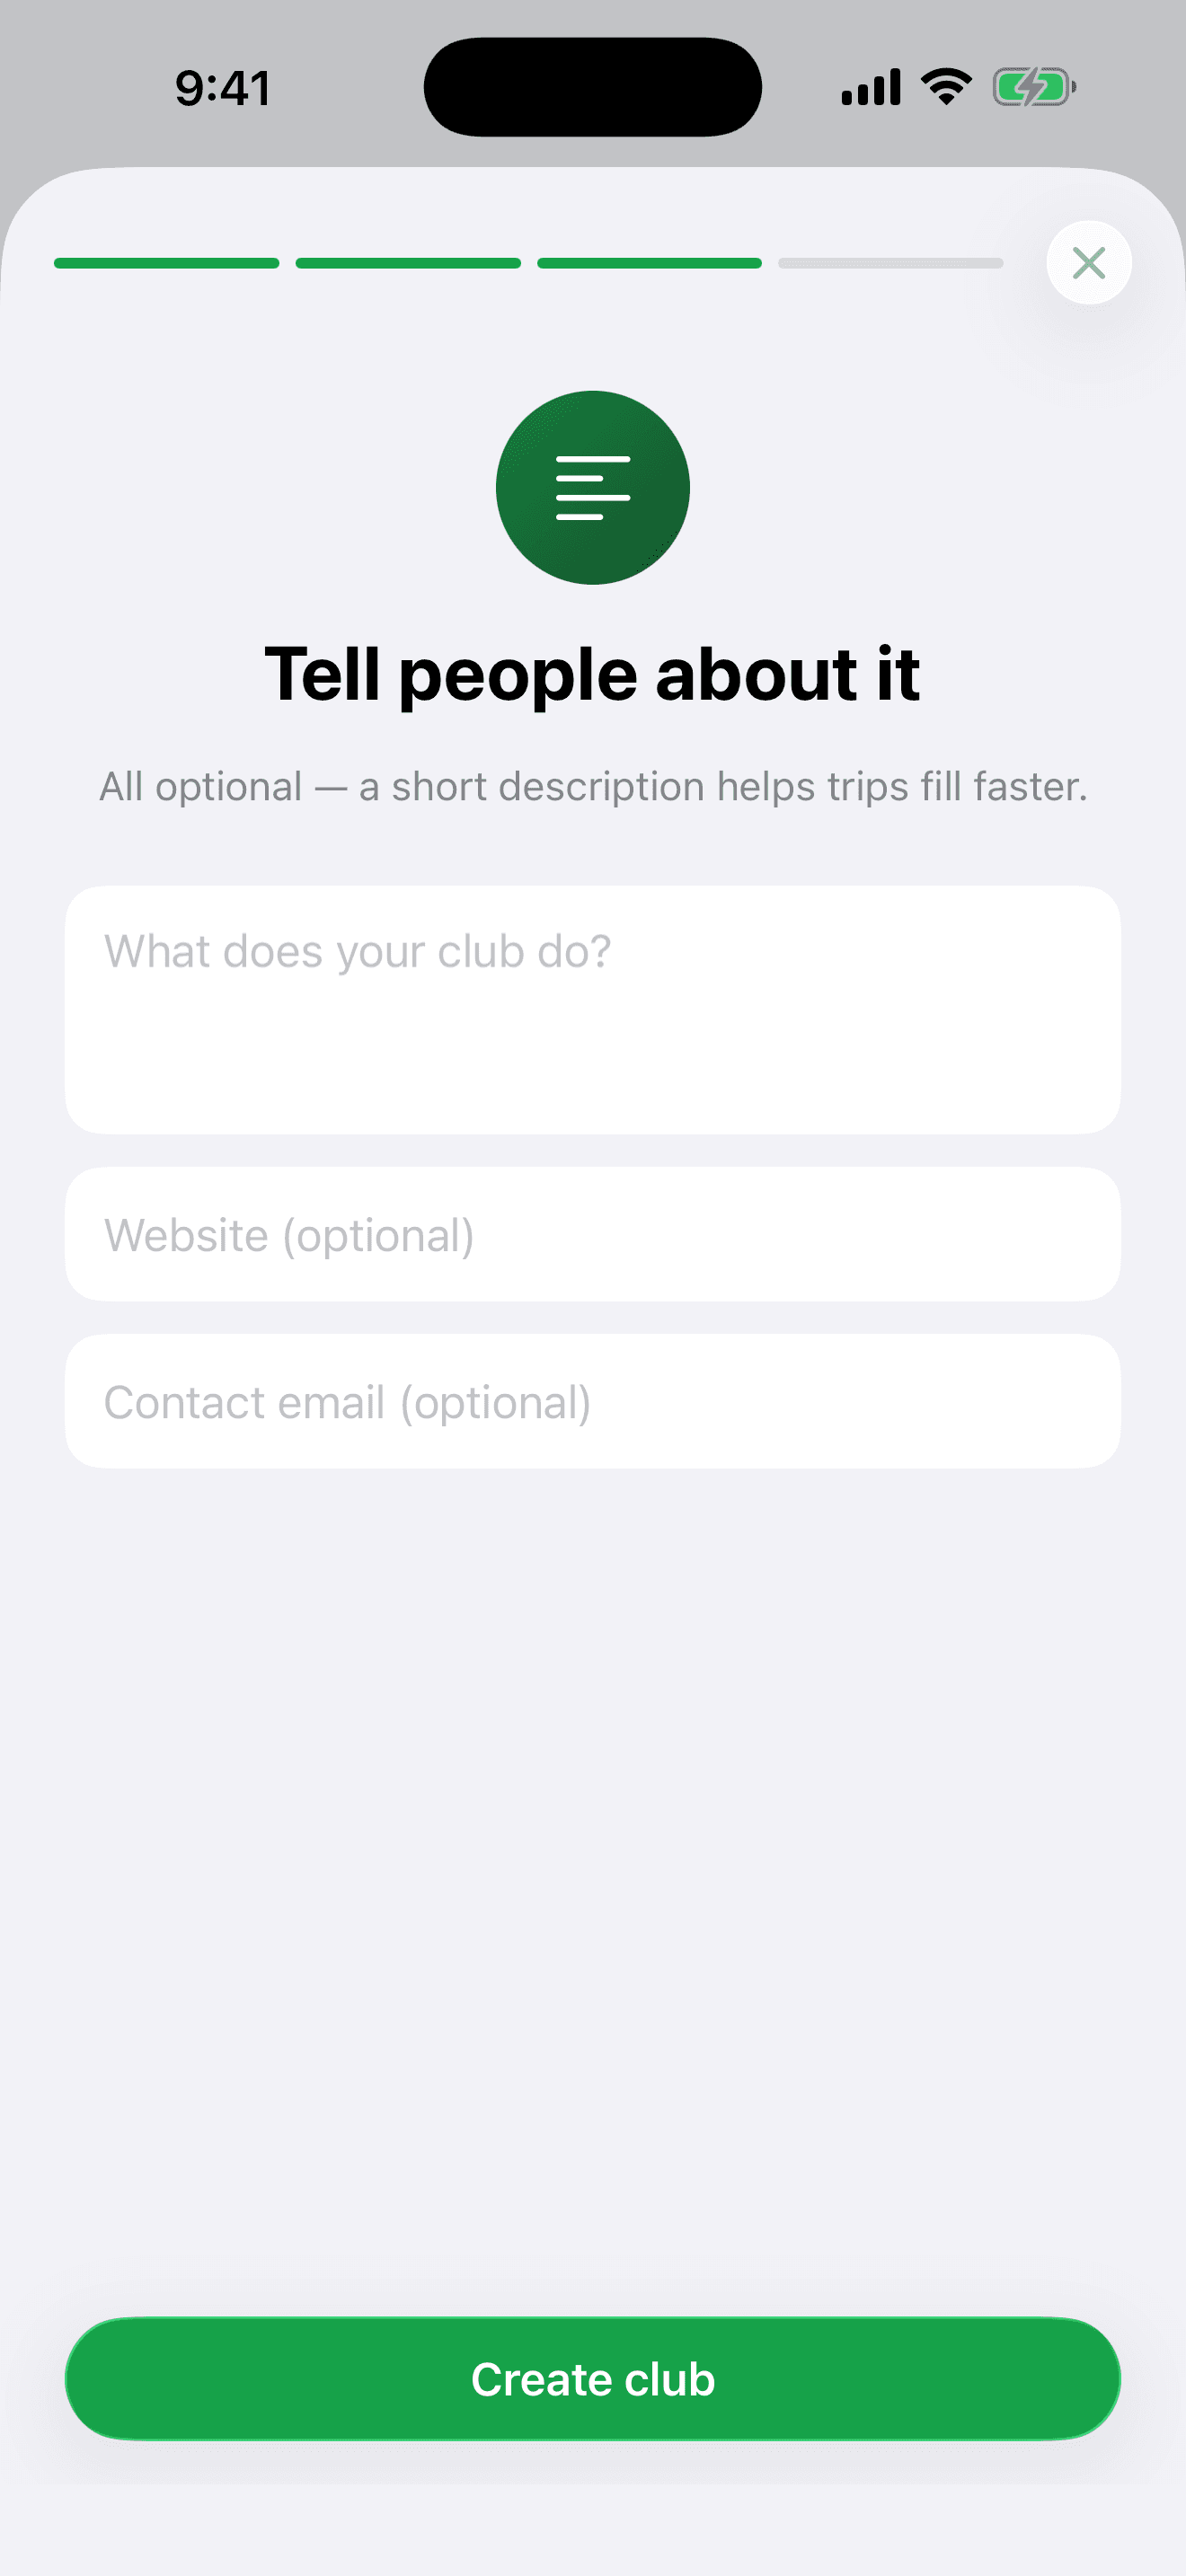
- Optionally add a description, website, and contact email.
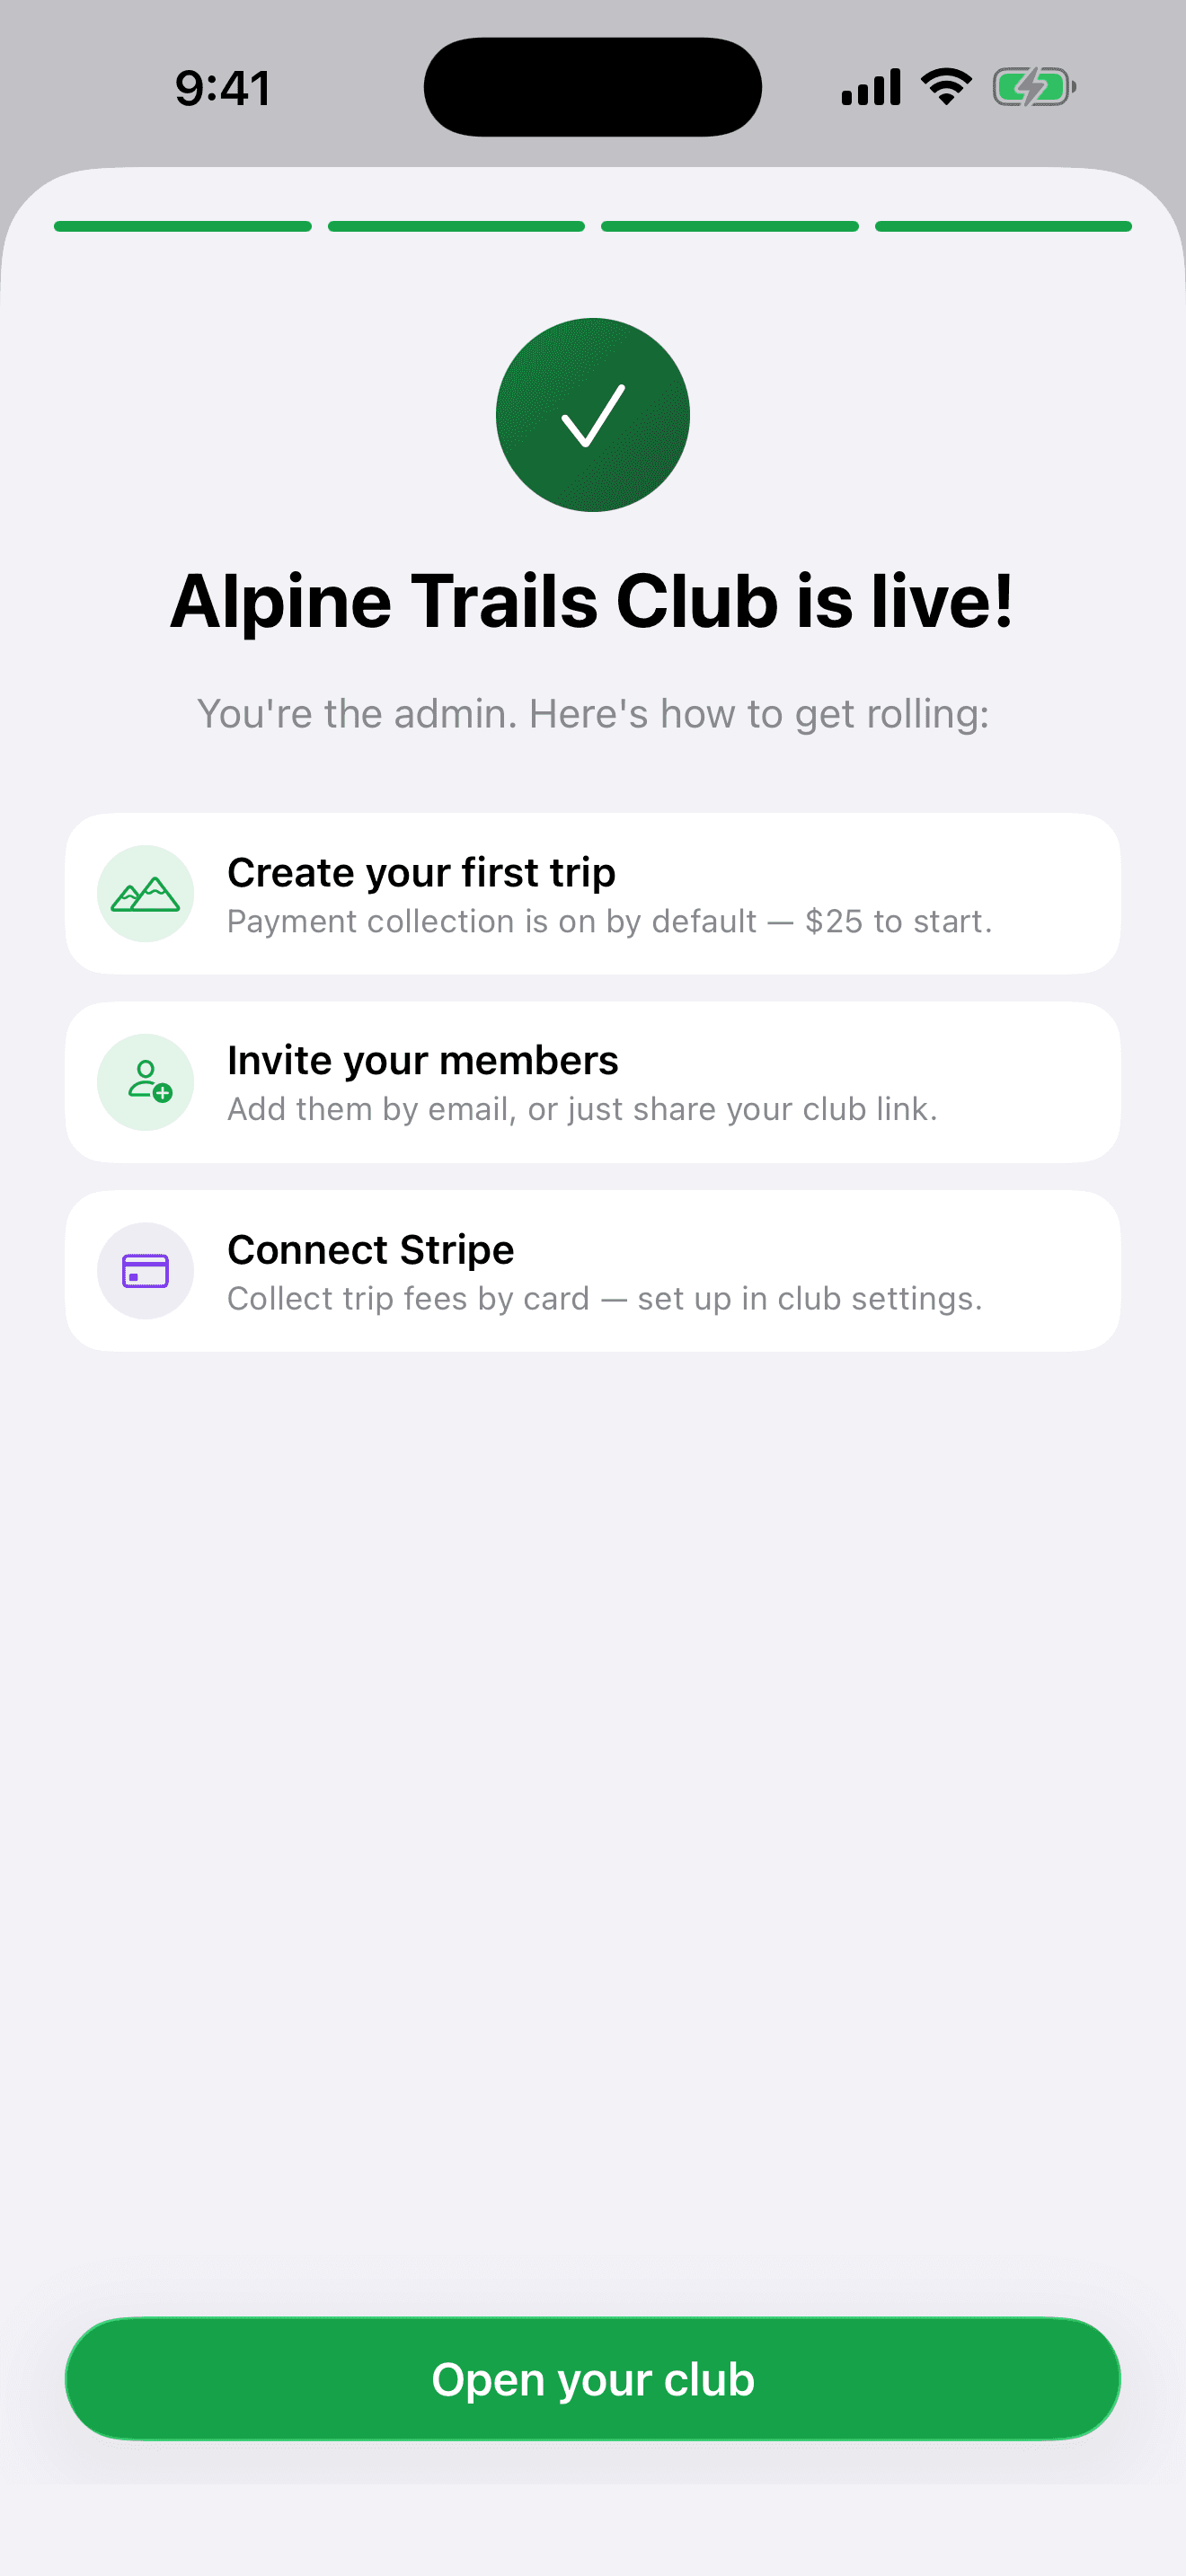
- Tap Create club — you're the admin, and you land straight on your club's home screen.
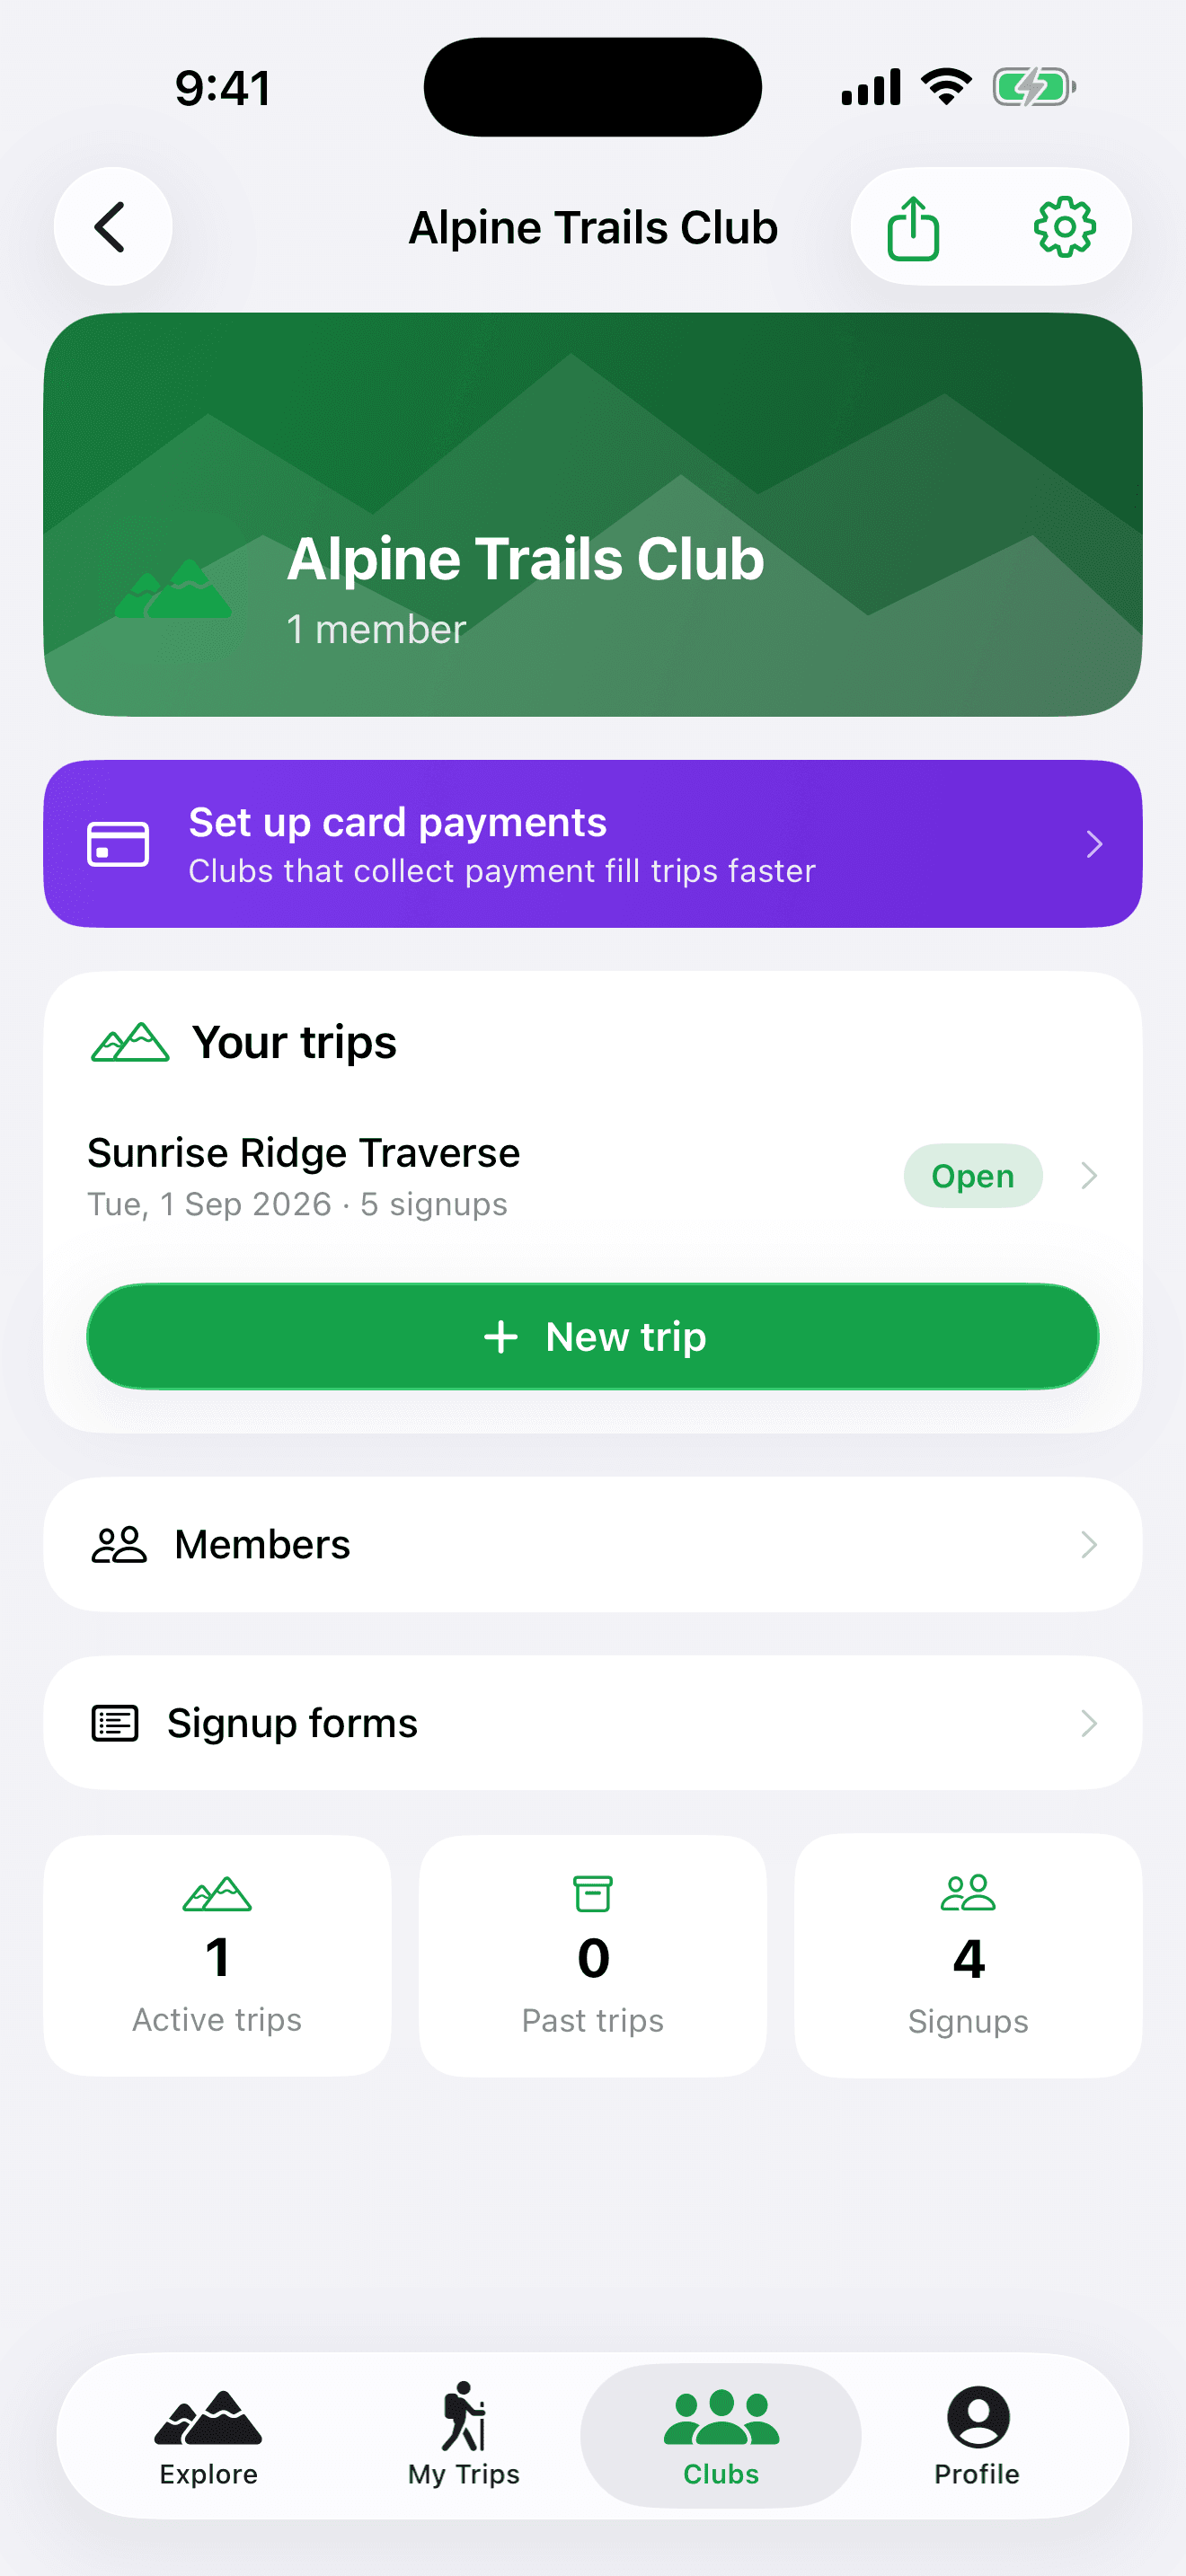
From there the next steps are: create your first trip, invite members (Members → add by email), and connect Stripe if you want to collect trip fees by card.
Create a trip
- Open Clubs → your club and tap New trip.
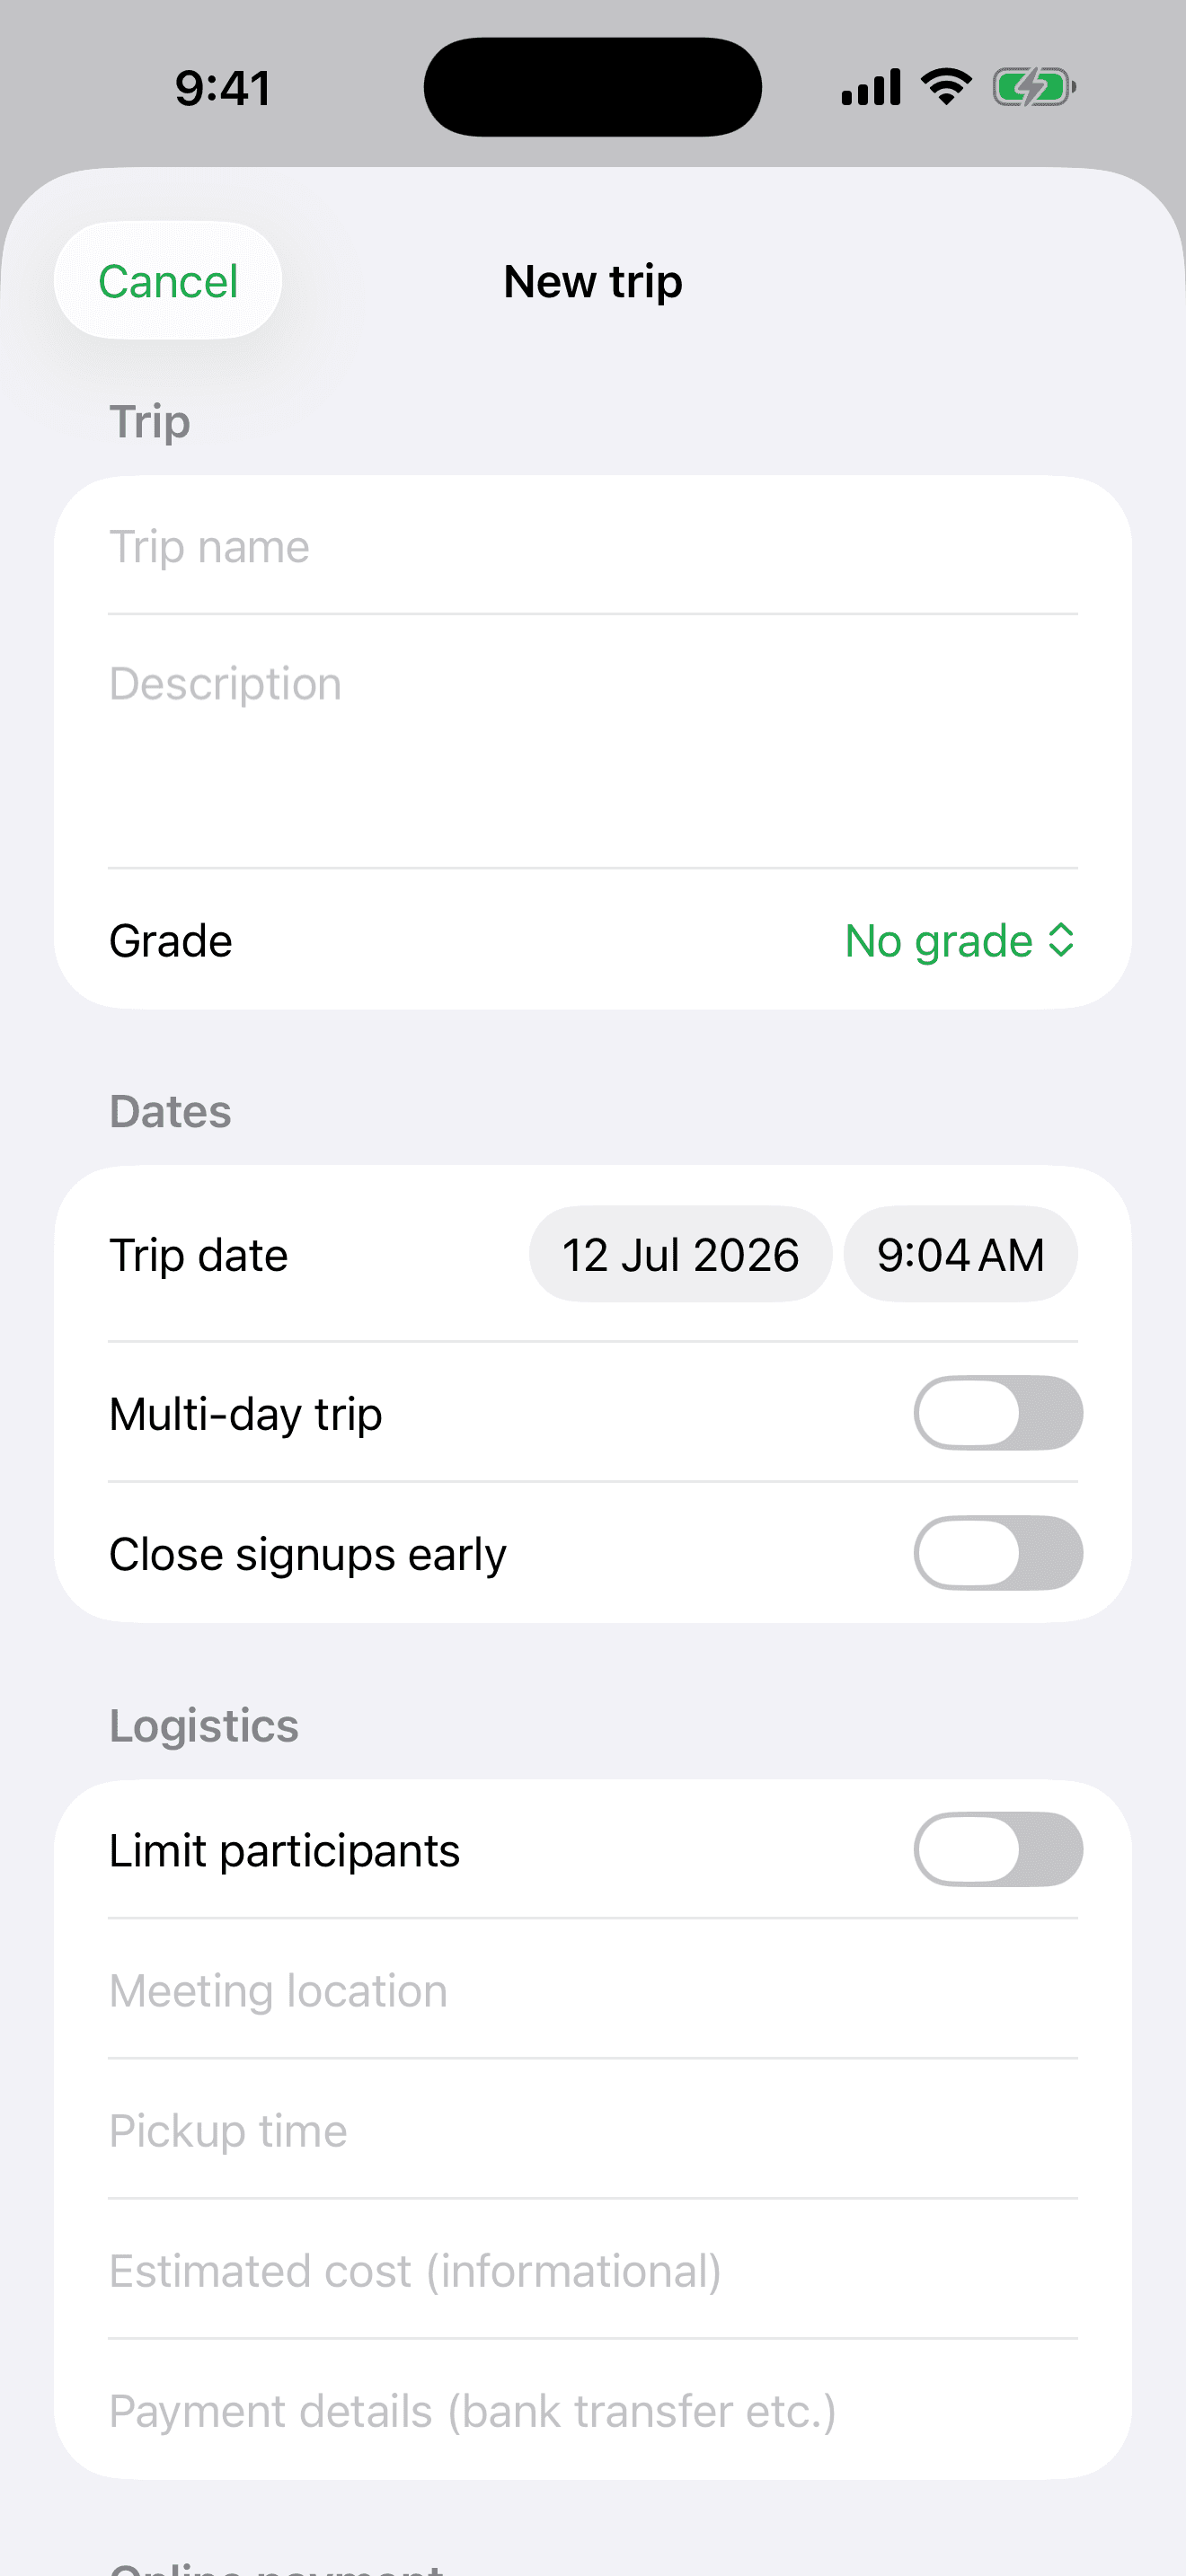
- Give it a name, description, and difficulty grade.
- Set the date — flip on Multi-day trip for an end date, or Close signups early for a cut-off.
- Add logistics: participant limit, meeting location, pickup time, and an estimated cost note.
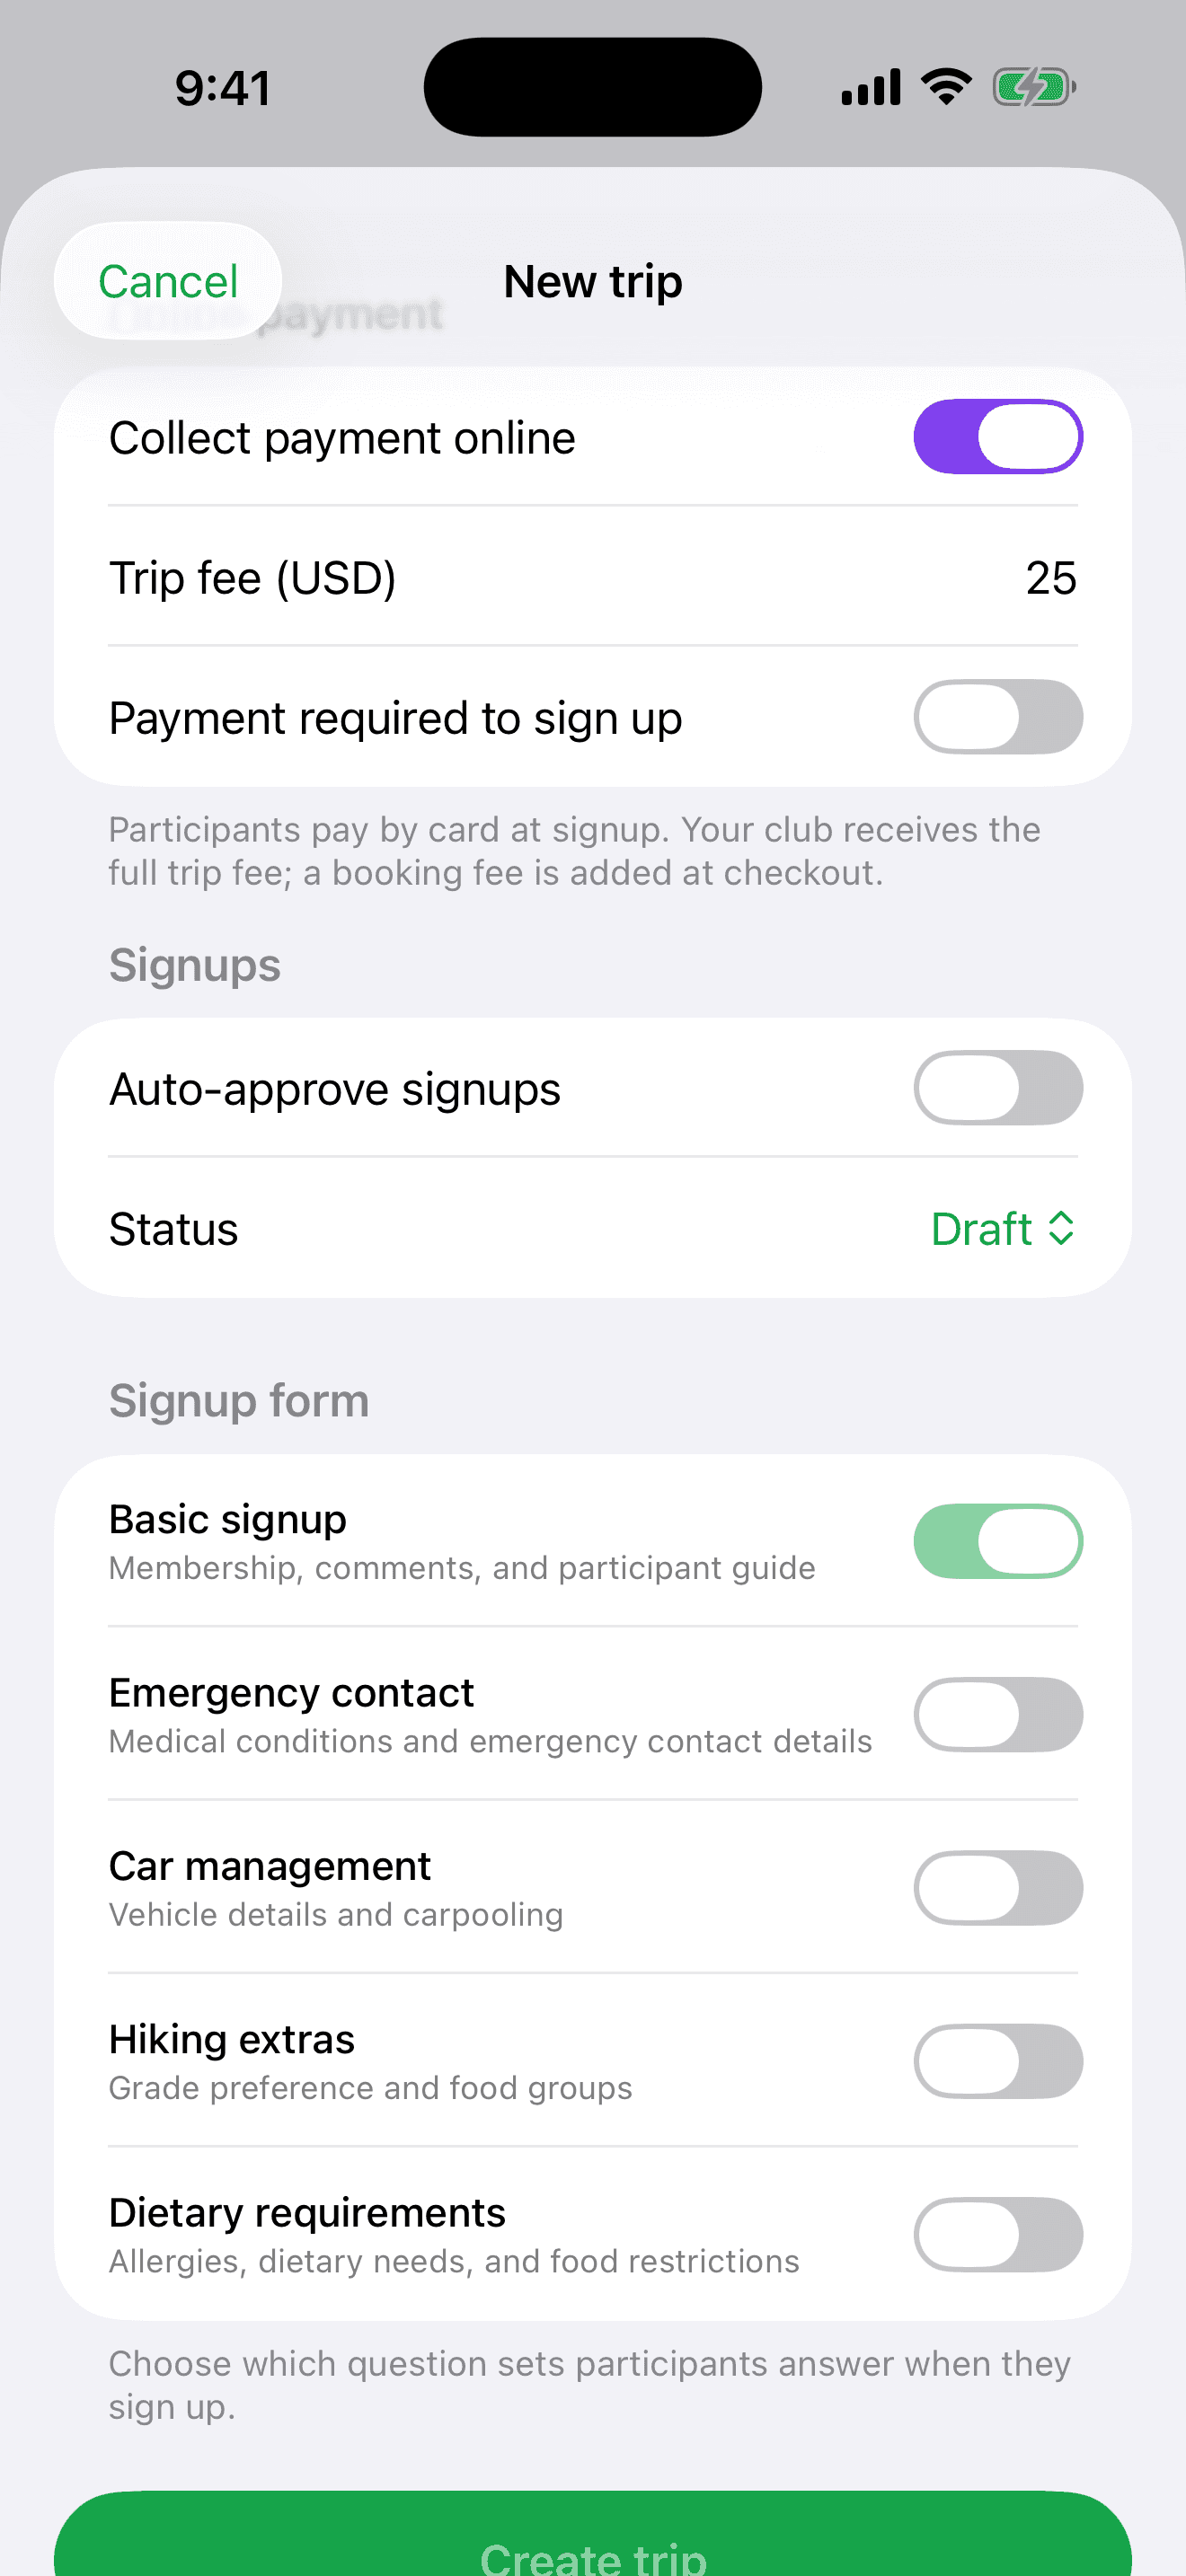
- Online payment is on by default with a $25 fee — adjust the amount, or require payment to complete signup. Your club receives the full fee; a small booking fee is added at checkout. (Requires Stripe — see club settings.)
- Choose whether signups are auto-approved or reviewed by you.
- Pick the signup form question sets — emergency contact, car management, hiking extras, dietary requirements.
- Set status to Open (or keep it as a Draft) and tap Create trip.
Sign up for a trip
- Find a trip in Explore and open it. You'll see the date, grade, spots left, meeting details, fee, and the trip leader.
- Tap Sign up.
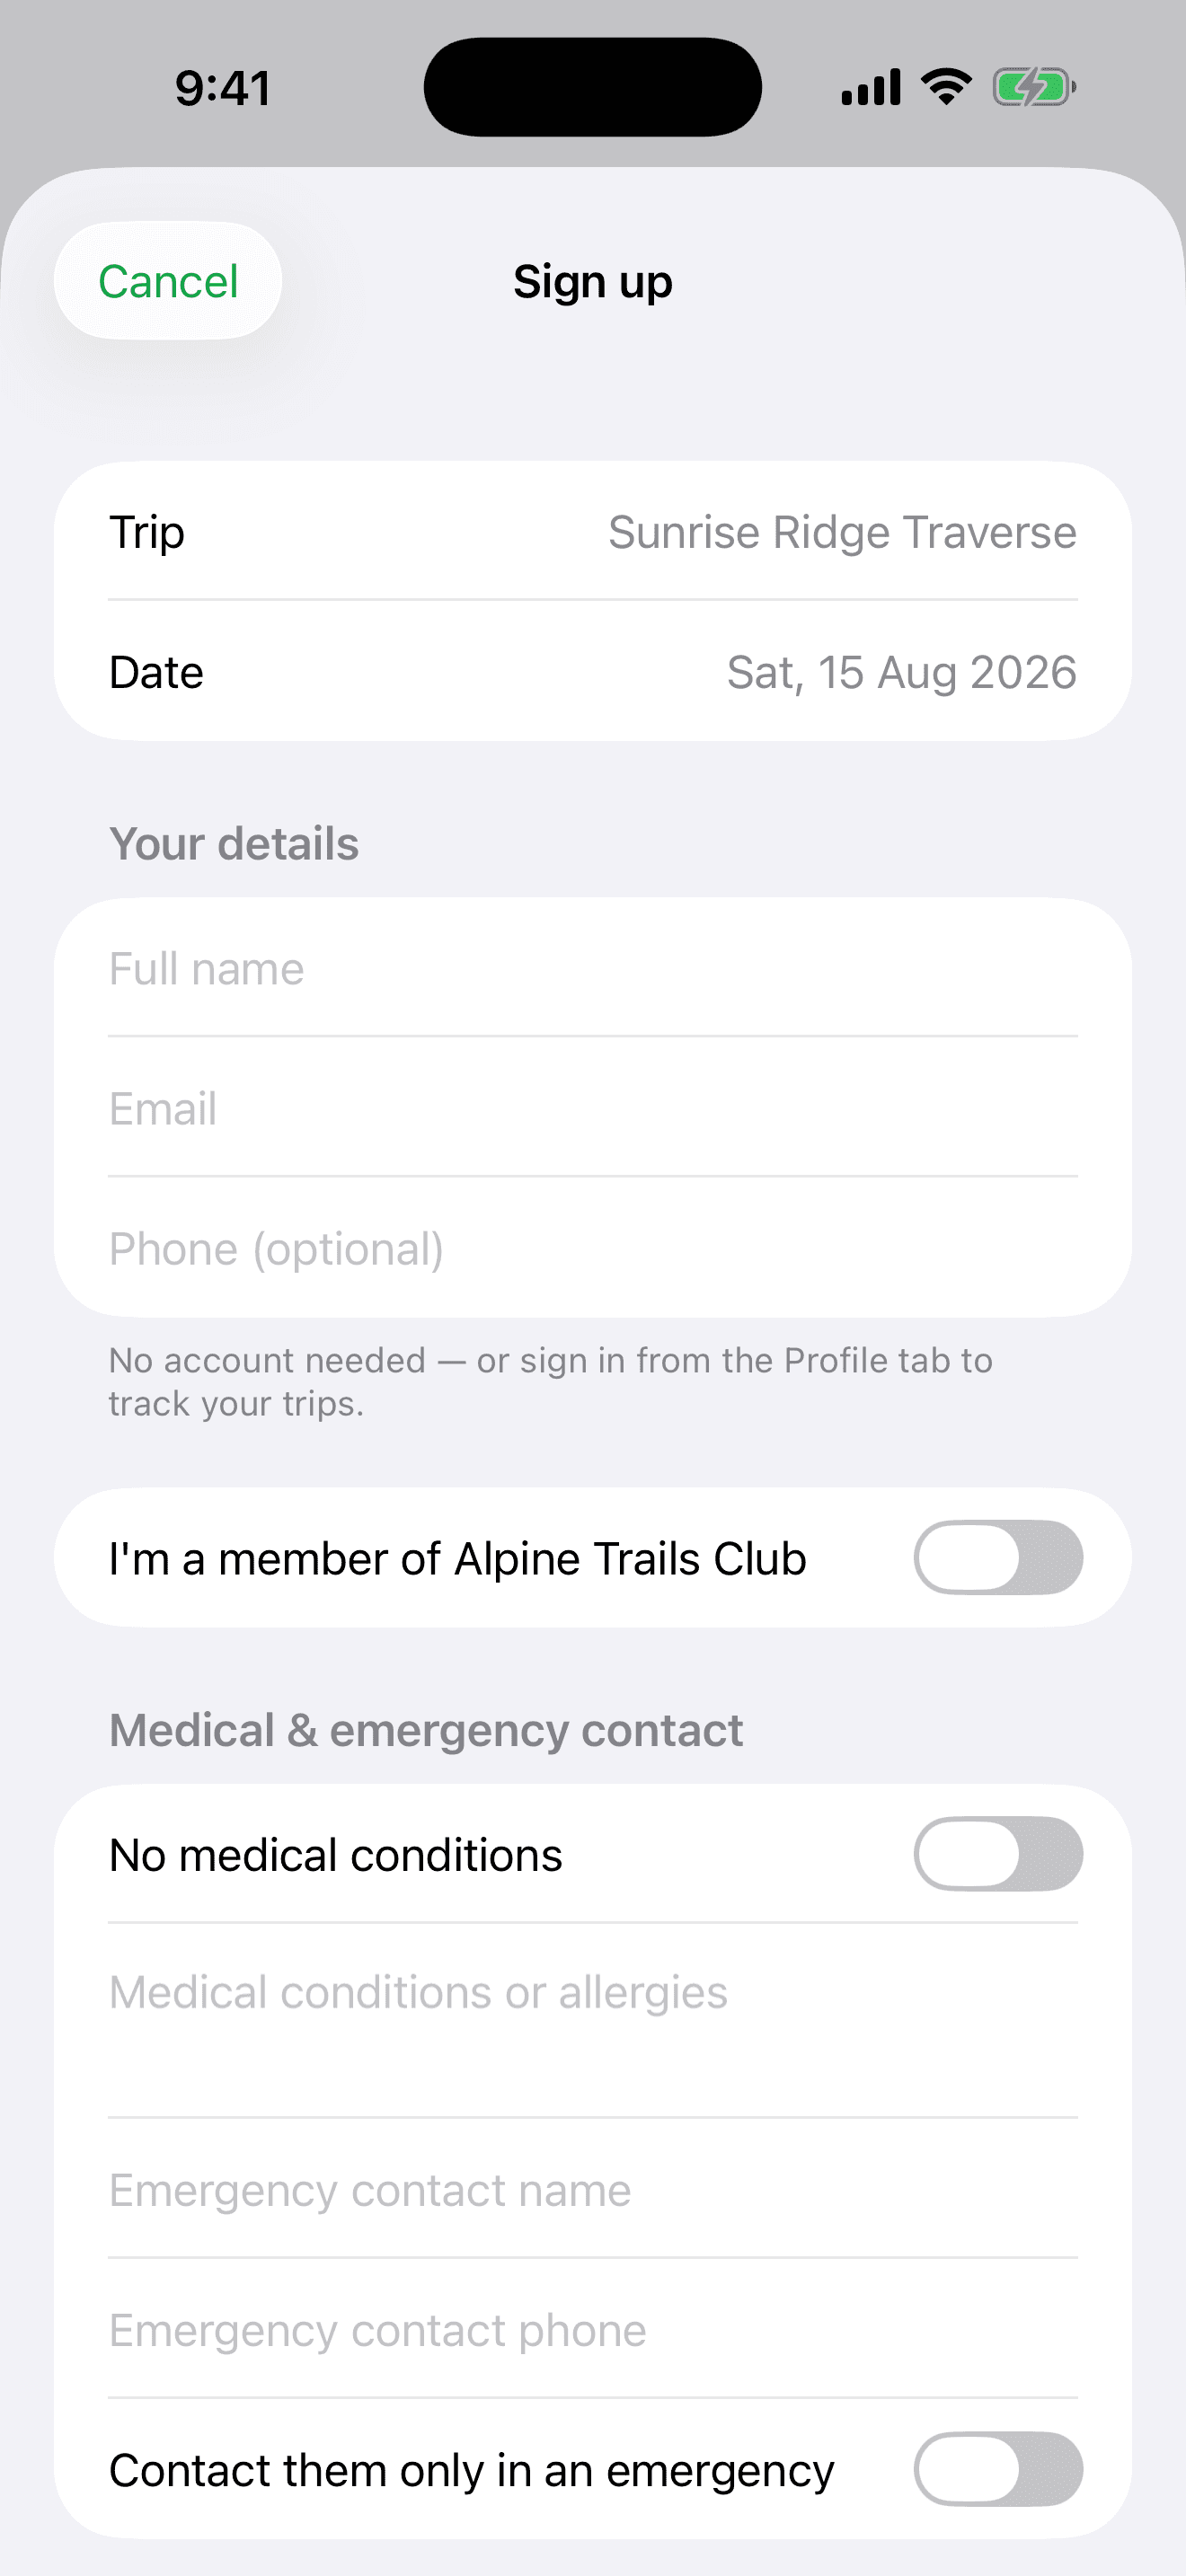
- Fill in the club's form — if you're not signed in, just add your name and email (no account needed).
- If you can bring a vehicle, say so — leaders use this to arrange carpools.
- If the trip takes card payment, review the fee and tap Sign up & pay — a secure Stripe page opens in the app. Your confirmation screen updates the moment payment lands.
Depending on the club, you'll either be confirmed instantly or marked pending until the leader approves you — you get an email either way.
My Trips
- Every trip you've signed up for, ordered by date, with your status badge (pending, approved, waitlisted).
- If a payment is outstanding, a violet Pay now button takes you straight to checkout.
- Once carpools are assigned you'll see your ride — who's driving you (and their rego), or how many passengers you're taking.
Notifications
The app asks for notification permission right after you sign in — tap Allow and you'll never miss a thing. Every email TheClubTrip sends also arrives as a push notification, and tapping one takes you straight to the right screen.
Everyone gets notified about:
- Signup confirmations, and the leader's decision (approved or waitlisted)
- Car assignments — "your ride is sorted"
- Every broadcast email from your trip leader
- Payment confirmations
Trip leaders also get, the instant it happens:
- Every new signup — tap it to land on that trip's Participants tab
- Every payment received, with the amount
- Replies to your trip emails
Changed your mind? Manage it any time in iPhone Settings → Notifications → The Club Trip. Signing out of the app stops notifications to that device.
Manage a trip (leaders)
Open Clubs → your club and tap any trip. The trip console has four tabs — Checklist, Participants, Cars, Emails — plus:
- The status pill at the top switches the trip between Draft, Open, Closed, Cancelled, and Archived.
- The ⋯ menu edits the trip, or deletes it (only while it has no signups).
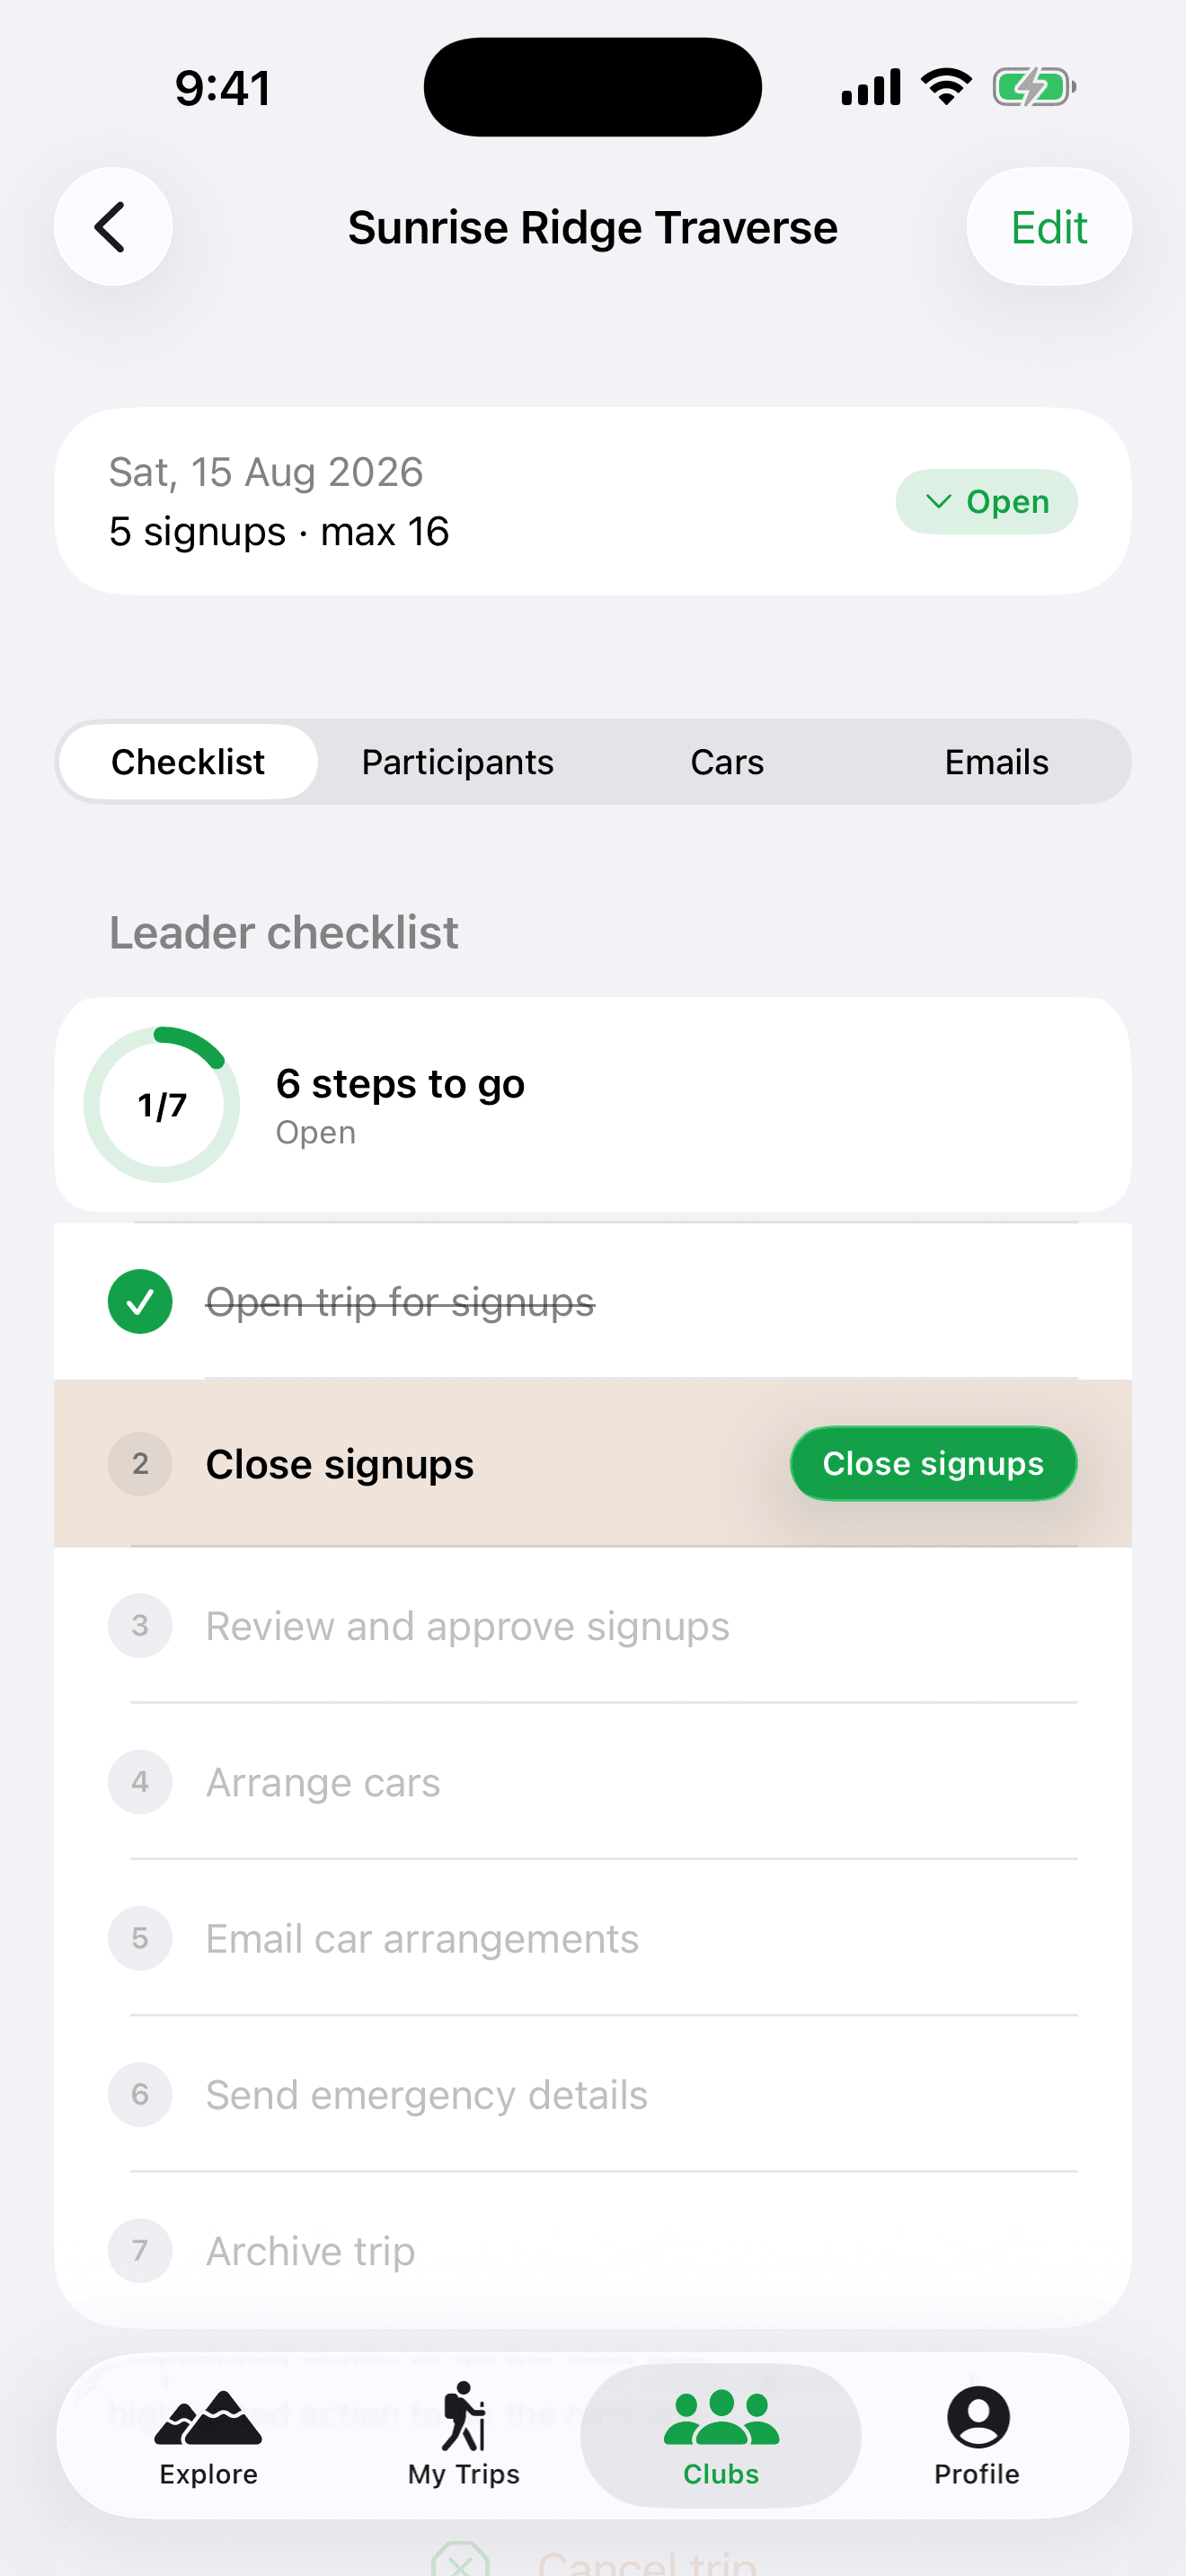
The Checklist walks you through leading the trip: open signups → close → approve → arrange cars → email arrangements → send emergency details → archive. Steps tick themselves off as things happen; the current step is highlighted with a one-tap action button. Send emergency details emails all participants' medical info and emergency contacts to your club's SAR address before you head out. Cancel trip (bottom) notifies every participant.
Participants
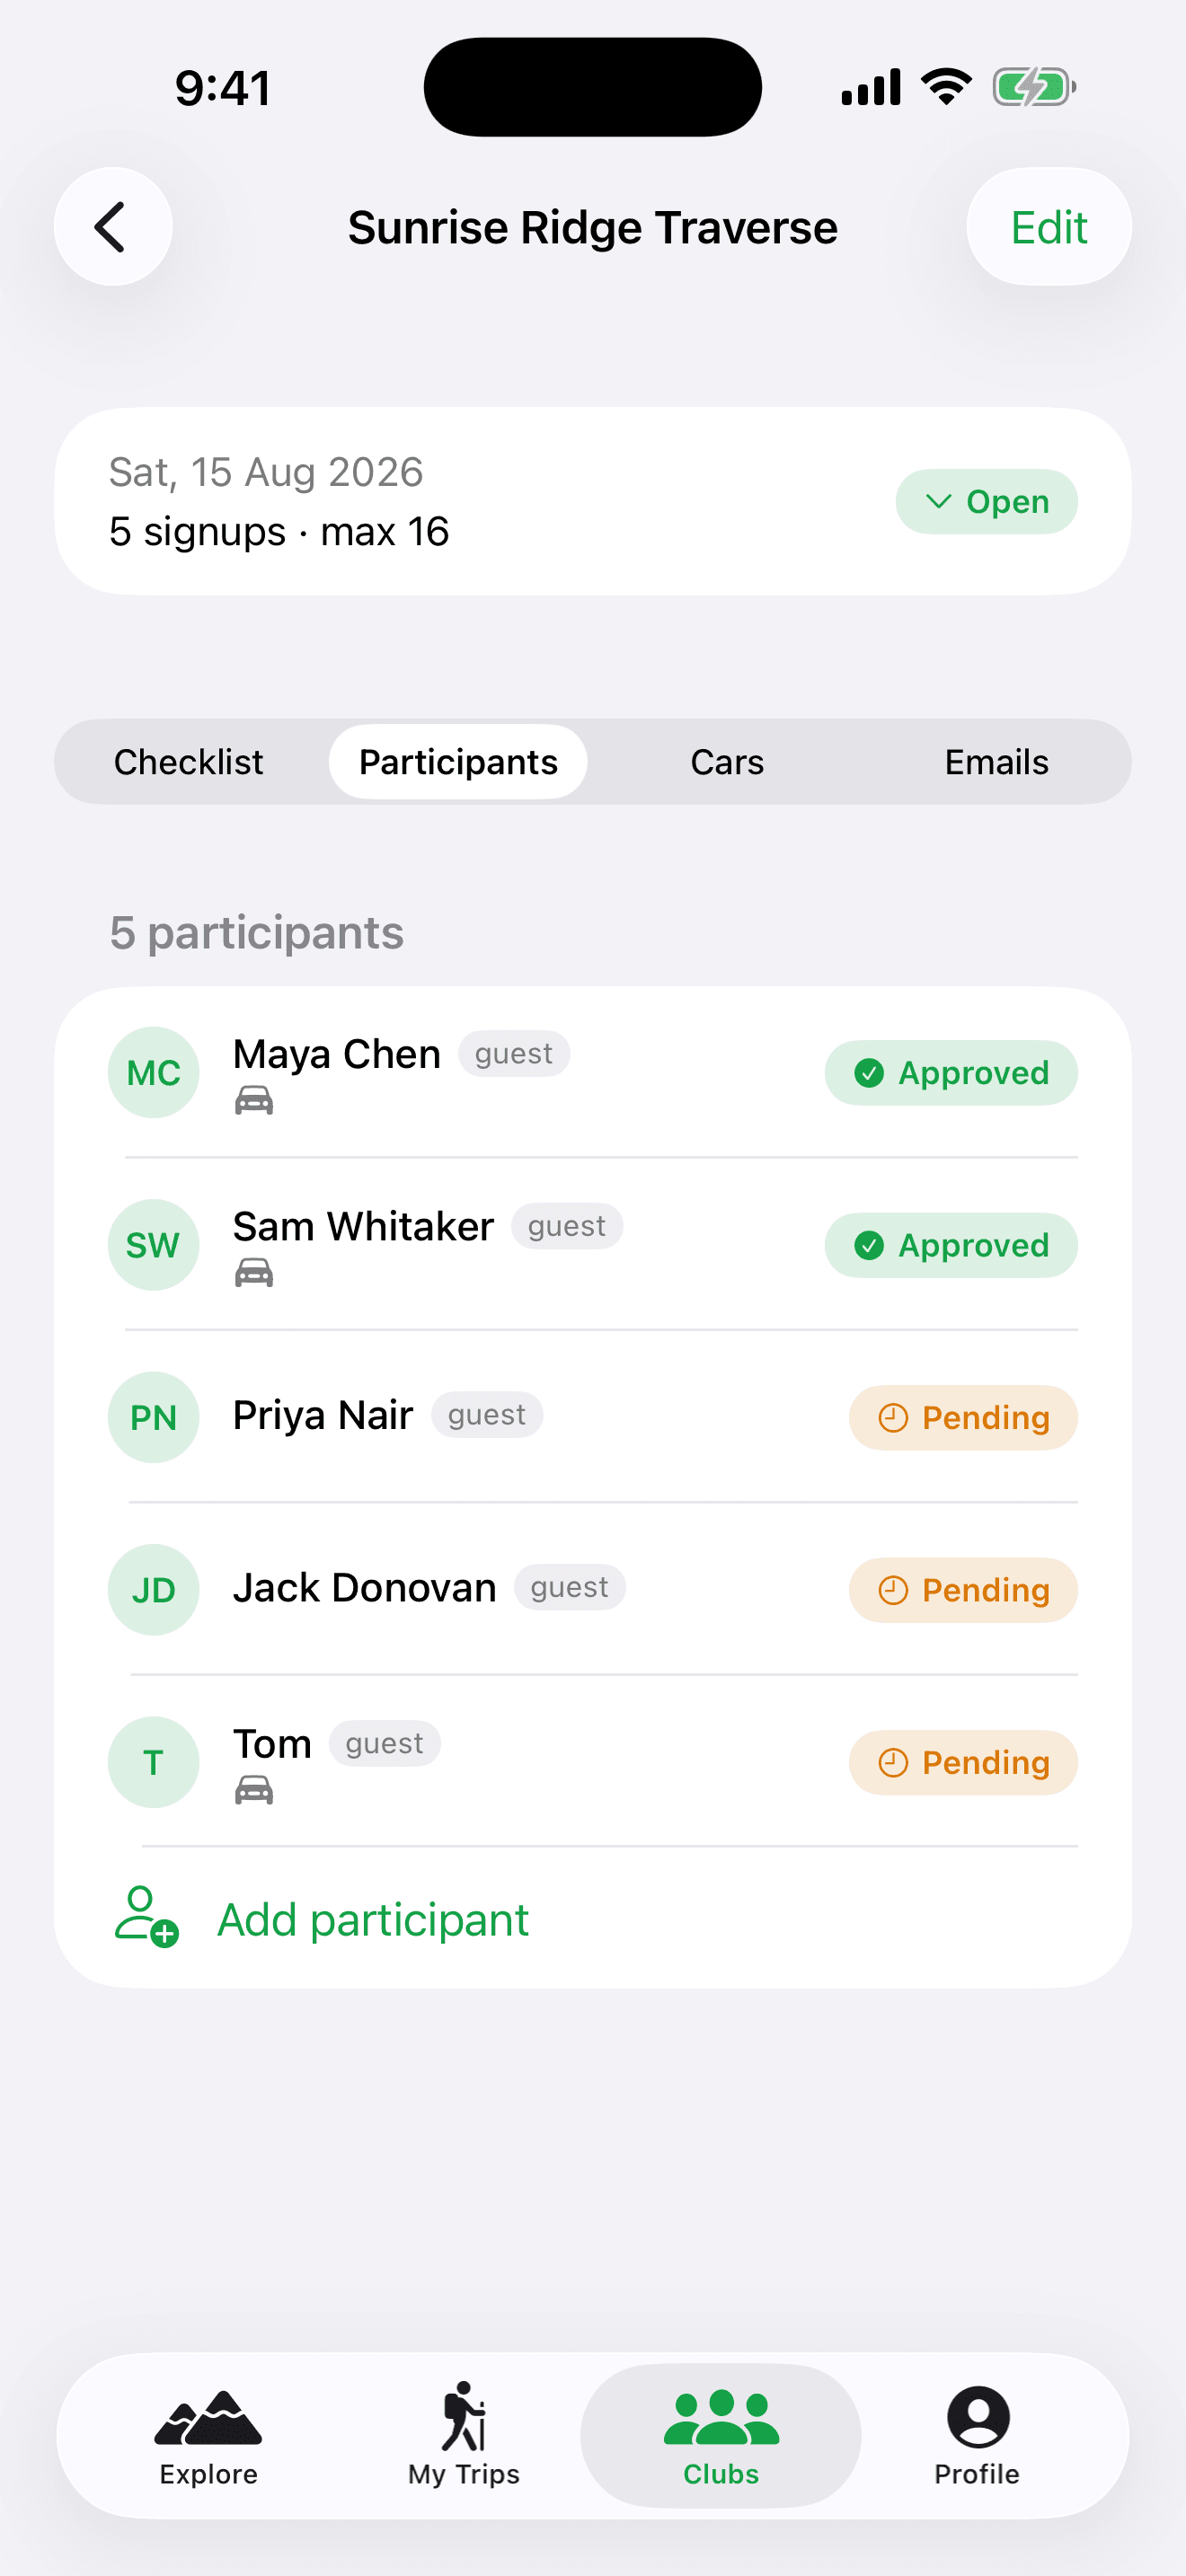
- Every signup with its status badge — tap one to see everything they entered: contact, medical, vehicle, custom answers, payment.
- From the detail screen (or by long-pressing a row) you can approve, waitlist, or cancel them — and refund a paid trip fee in one tap.
- Swipe left to remove a signup entirely.
- Add participant lets you enter someone manually (phone signups, walk-ups).
Carpools
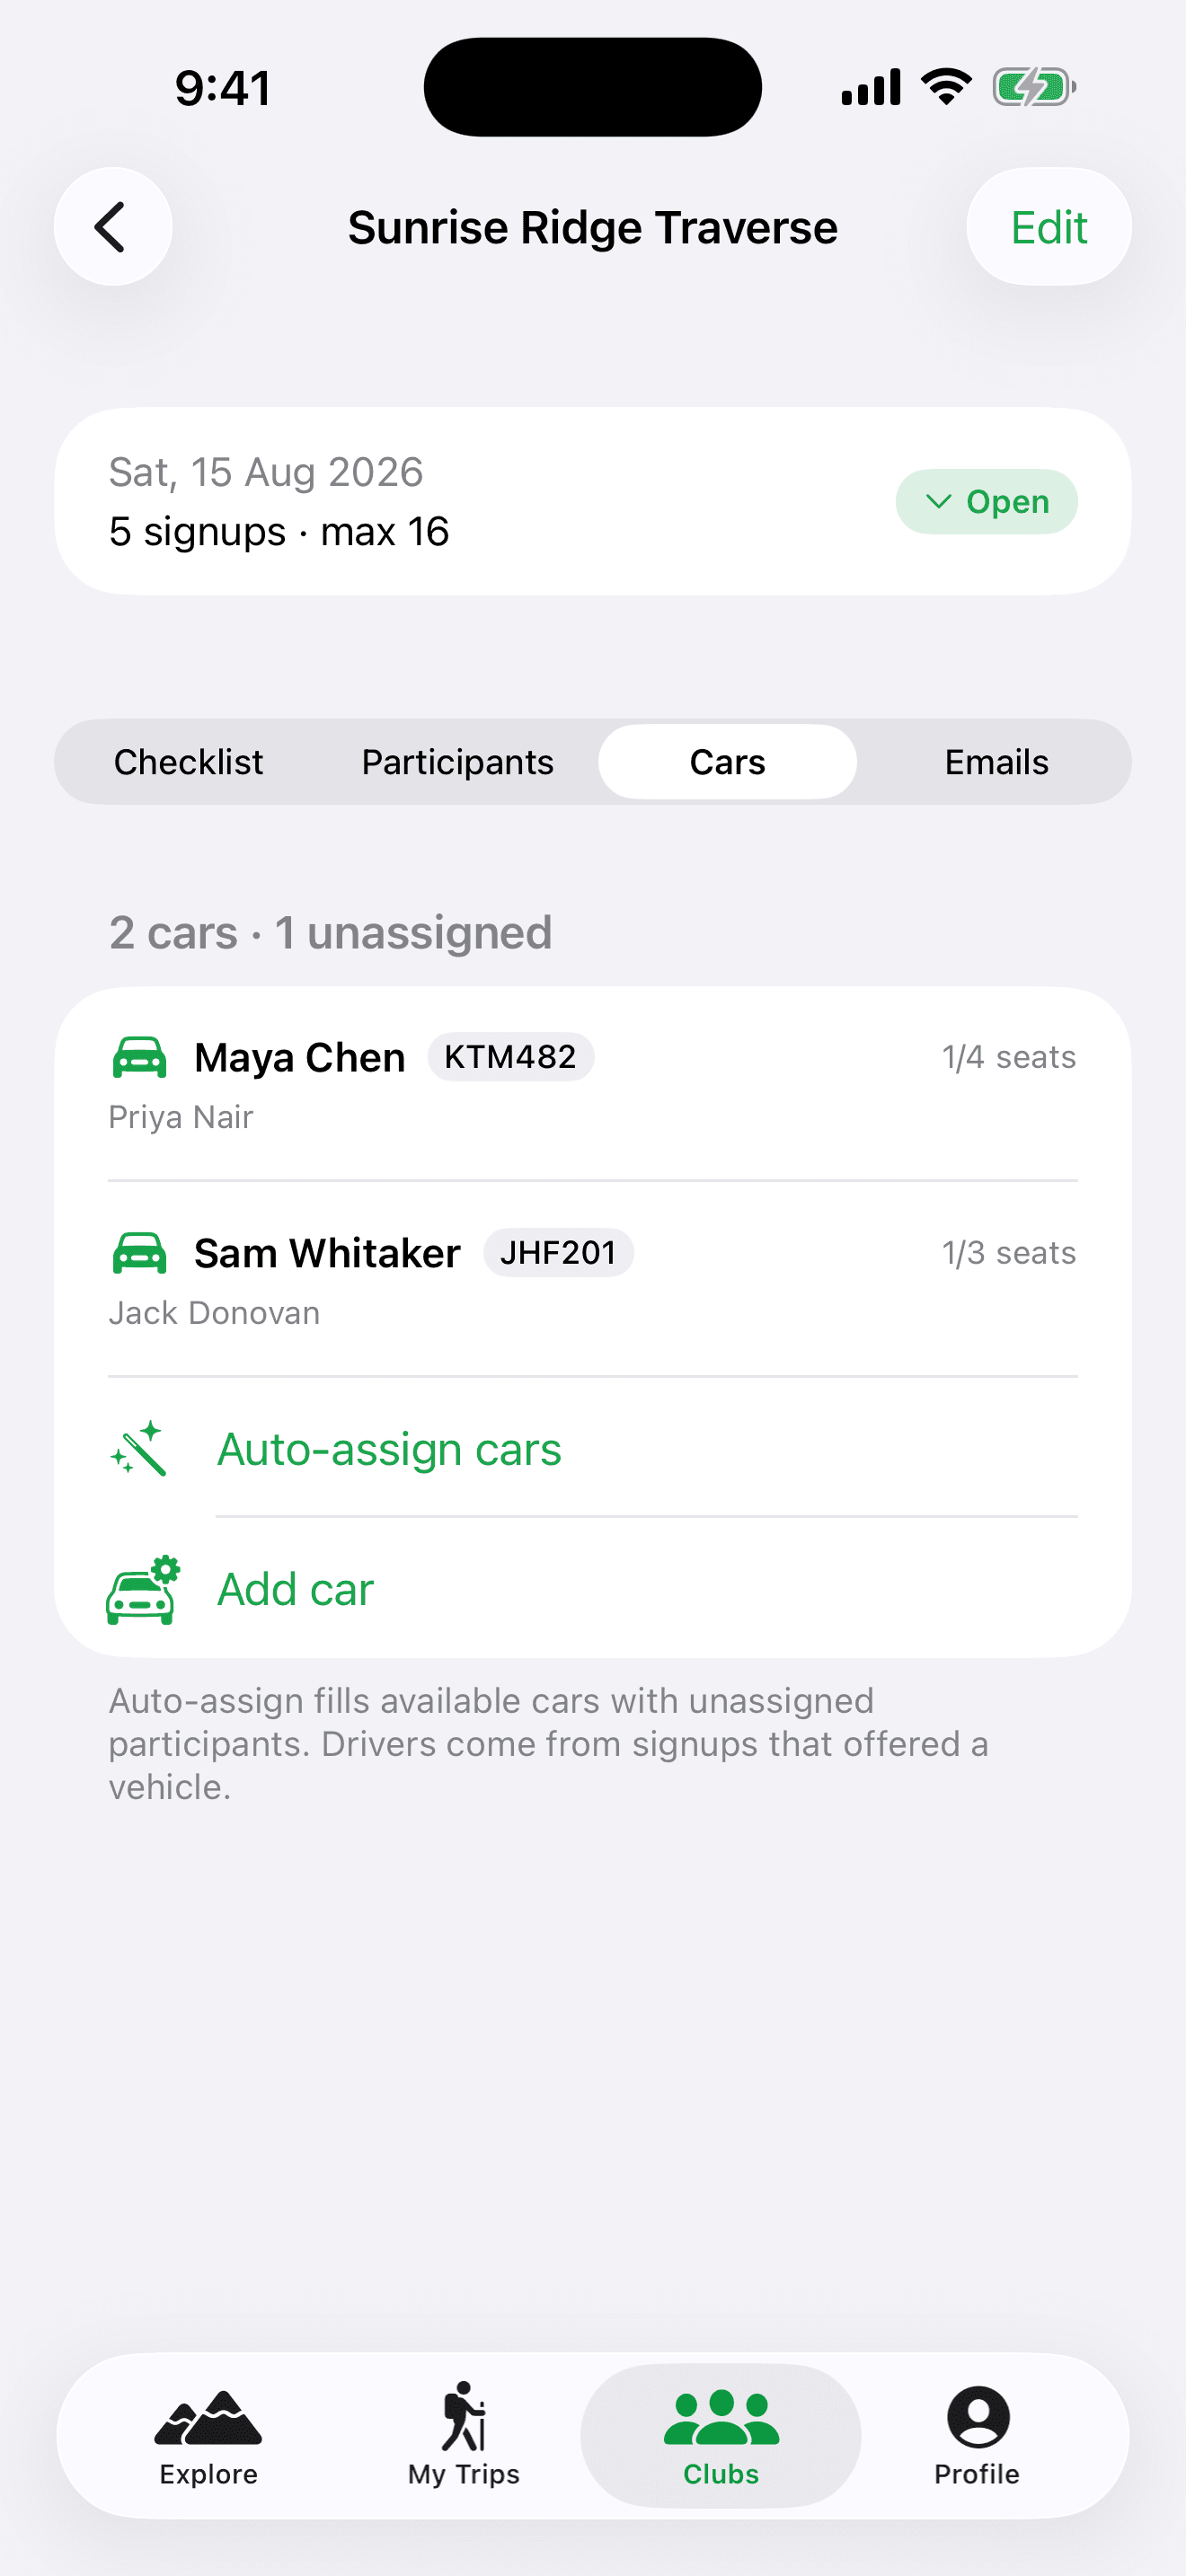
- Auto-assign cars builds carpools instantly: everyone who offered a vehicle becomes a driver, and everyone else is spread evenly across the seats. Run it again any time to redo from scratch.
- Tap a car to hand-pick its passengers; swipe left to remove a car; Add car builds one manually.
- When you're happy, use the checklist's Email car arrangements — every participant gets their ride details.
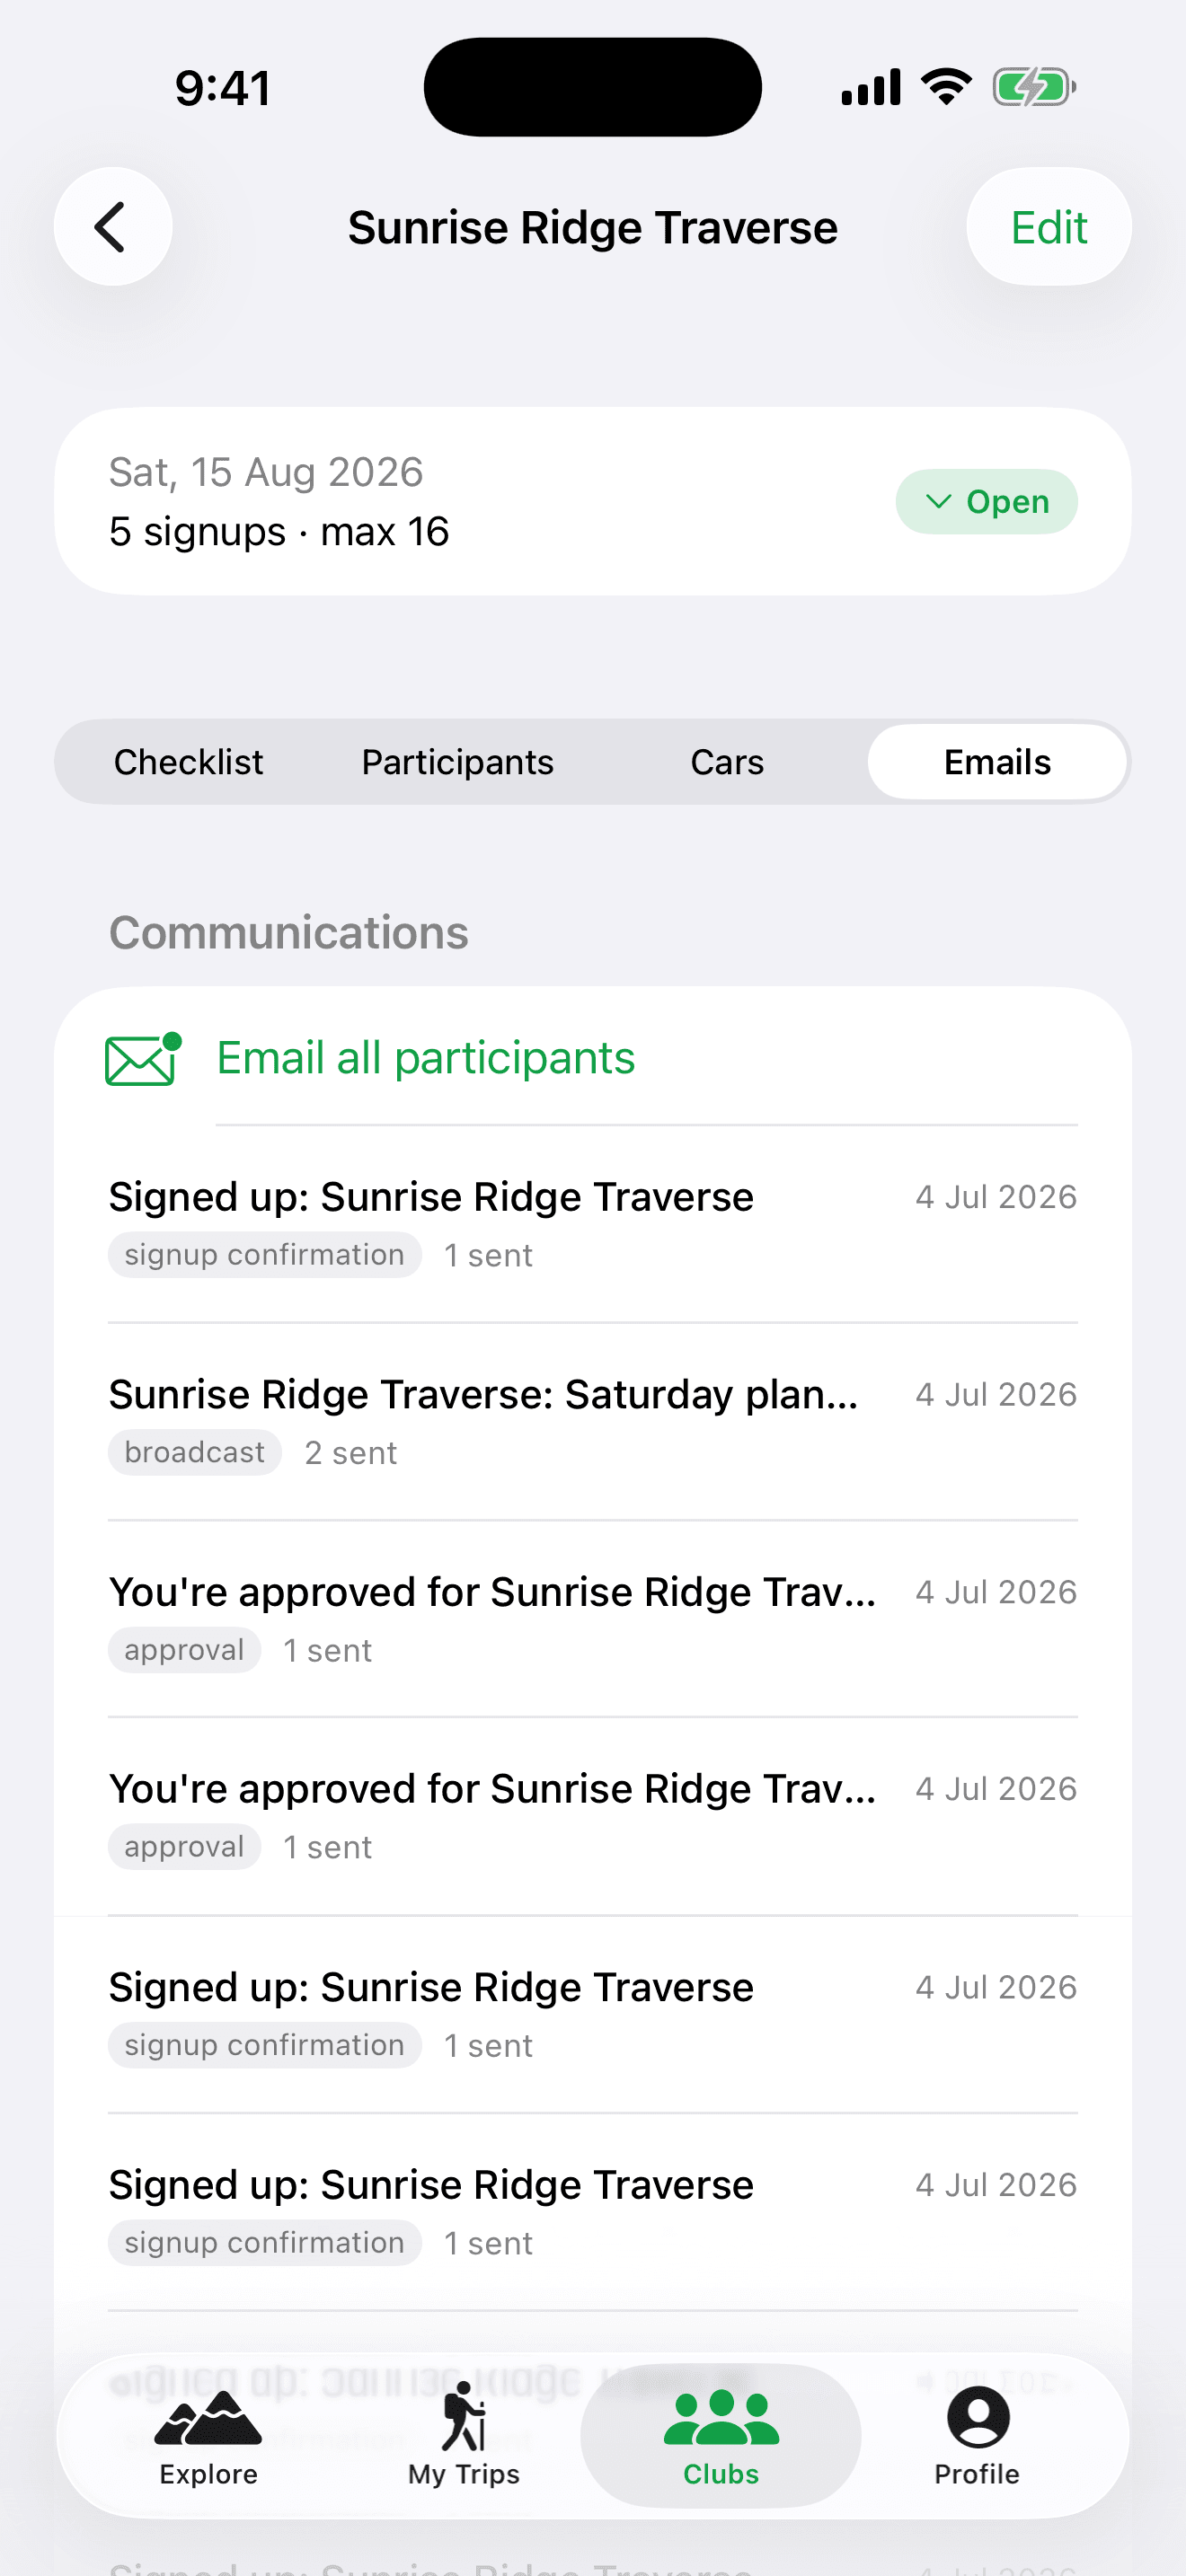
Emails
- Email all participants sends a broadcast to everyone who isn't cancelled.
- The history shows every email the trip has generated — broadcasts, signup confirmations, approvals, car arrangements, SAR reports, and inbound replies.
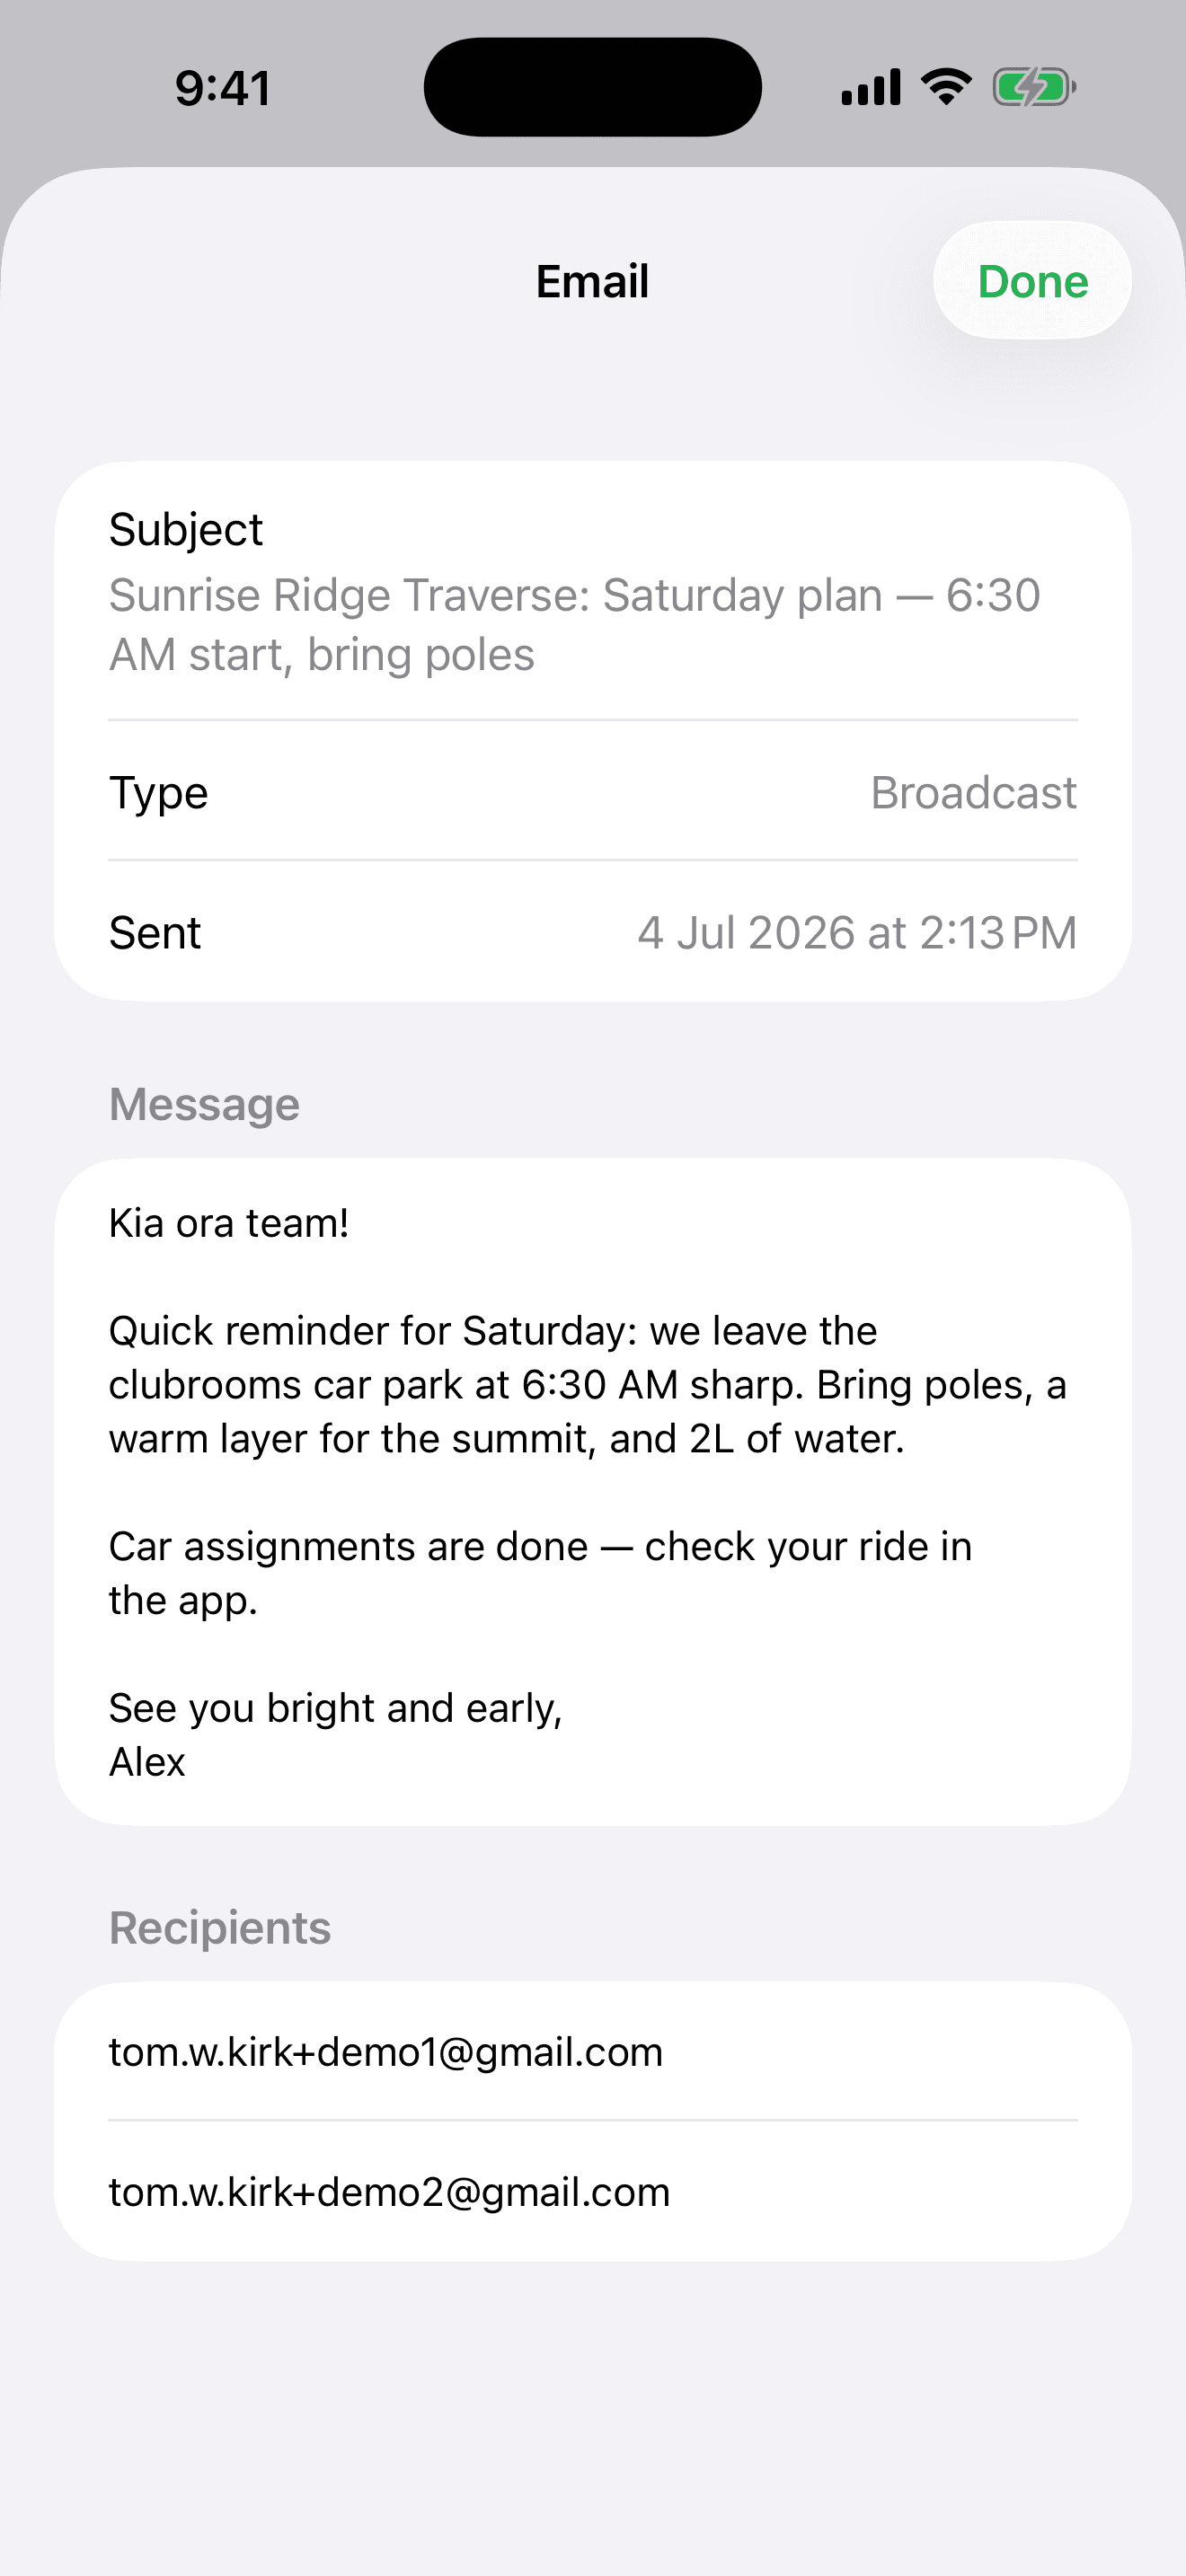
- Tap any email to read the full message and see per-recipient delivery status (delivered, bounced, failed).
Club settings & payments
On your club's home screen, tap the gear to open settings:
- Logo, name, description, website, contact email — and the SAR email that emergency reports go to by default.
- Payments: connect Stripe to collect trip fees by card. Onboarding opens in the app; once active you can jump to your Stripe dashboard or disconnect. The platform keeps 4% plus a small booking fee added at checkout — your club receives the full trip fee.
- Members (from the club home): add people by email, promote them to Leader or Admin with a long-press, or remove them. Leaders can run trips; Admins can also manage settings, payments, and members.
- Danger zone: delete the club — permanent, so it asks twice.
Stuck on something not covered here?